509-201-4190

Are you planning a roof replacement project for your home? To ensure a successful and stress-free experience, it’s essential to follow these top roof replacement tips. As roofing experts, we’ve compiled the most crucial advice to help you navigate the process, avoid common mistakes, and achieve the best results for your new roof.
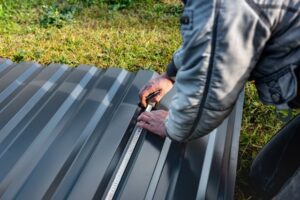
1. Choose the Right Roofing Material
One of the most important roof replacement tips is selecting the appropriate roofing material for your home. Consider factors such as:
- Climate and weather conditions in your area
- Architectural style of your property
- Budget and long-term cost-effectiveness
- Energy efficiency and environmental impact
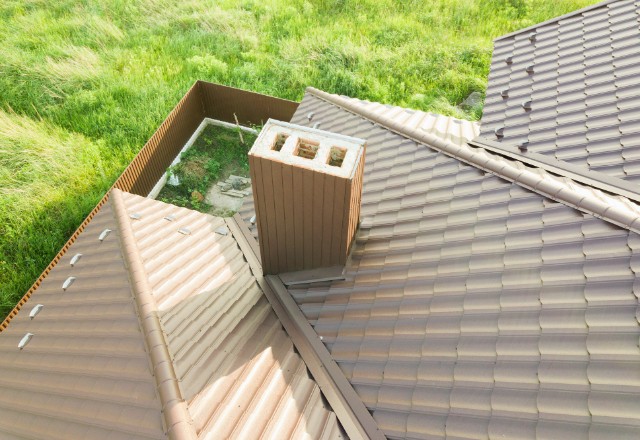
Some popular roofing materials include asphalt shingles, metal, tile, and slate. Each has its own benefits and drawbacks, so research thoroughly and consult with a professional to determine the best fit for your needs.
2. Research and Hire a Reputable Contractor
A successful roof replacement relies heavily on the expertise and reliability of your chosen contractor. To find the right professional:
- Look for licensed and insured roofing contractors
- Check references and read online reviews
- Obtain multiple quotes and compare them in detail
- Verify the contractor’s experience with your specific roofing material
- Ensure they offer a written contract and warranty
Don’t be tempted to cut corners by hiring an unlicensed or uninsured contractor, as this can lead to costly issues down the road.
3. Understand Your Roofing Warranty Options
Protecting your investment is crucial, and roofing warranties play a significant role. There are two main types of warranties:
- Manufacturer’s Warranty:
- Covers defects in roofing materials
- Length varies by product and manufacturer
- May require installation by a certified contractor
- Workmanship Warranty:
- Covers installation errors and labor-related issues
- Typically shorter than manufacturer’s warranty
- Provided by the roofing contractor
Carefully review and compare warranty options to ensure you have adequate coverage for your new roof.
4. Prepare Your Home for Roof Replacement
Before work begins, take steps to prepare your home and minimize disruption:
- Clear your attic and cover any exposed items
- Protect landscaping and outdoor furniture near the work area
- Make arrangements for children and pets to avoid hazards
- Notify neighbors of the upcoming project and potential noise
- Designate a driveway or parking area for the roofing crew
By preparing in advance, you can ensure a smoother and more efficient roof replacement process.
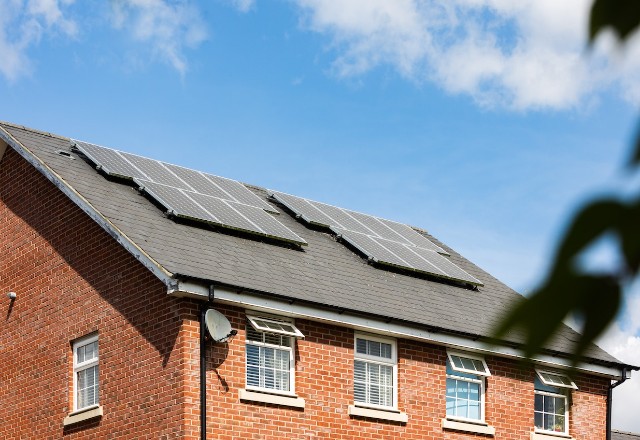
5. Consider Energy-Efficient and Eco-Friendly Options
When replacing your roof, explore opportunities to improve energy efficiency and reduce environmental impact. Some options include:
- Cool roofs with reflective coatings to reduce heat absorption
- Energy Star-rated roofing materials
- Recycled or recyclable roofing products
- Proper insulation and ventilation to regulate attic temperature
Incorporating these features can lead to lower energy bills, increased comfort, and a reduced carbon footprint.
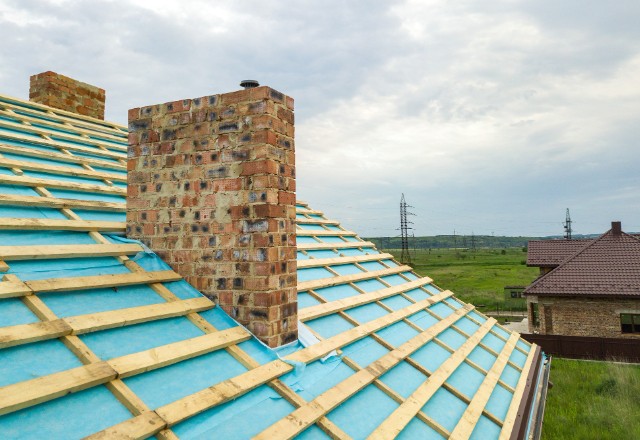
6. Ensure Proper Ventilation and Insulation
Adequate attic ventilation and insulation are essential for the performance and longevity of your new roof. Benefits include:
- Preventing heat and moisture buildup
- Reducing energy costs
- Extending the life of roofing materials
- Minimizing the risk of ice dams and other damage
Discuss ventilation and insulation options with your contractor to ensure your roof replacement includes these critical components.
7. Plan for Future Maintenance and Repairs
While a new roof is a significant investment, it’s important to remember that regular maintenance and timely repairs are crucial for its longevity. To protect your investment:
- Schedule annual professional inspections
- Perform routine cleaning and debris removal
- Address minor issues promptly to prevent escalation
- Keep records of all maintenance and repairs
By being proactive with roof maintenance, you can extend the life of your new roof and avoid costly problems down the line.
8. Time Your Roof Replacement Wisely
Timing your roof replacement project can impact its success and cost. Consider the following factors:
- Local climate and weather patterns
- Contractor availability and scheduling
- Material costs and seasonal fluctuations
- Urgency of the replacement (e.g., severe damage or leaks)
In general, spring and fall are popular times for roof replacements due to milder weather conditions and reduced demand. However, work with your contractor to determine the best timing for your specific situation.
9. Obtain Necessary Permits and Inspections
Before starting your roof replacement, ensure you have all required permits and inspections:
- Contact your local building department for permit requirements
- Verify that your contractor obtains necessary permits
- Schedule any required inspections throughout the project
- Keep copies of all permits and inspection reports
Failing to comply with building codes and regulations can lead to costly fines and legal issues.
10. Maximize Your Return on Investment
To get the most value from your roof replacement, consider the following tips:
- Choose durable, high-quality materials for long-term performance
- Opt for timeless colors and styles that complement your home’s architecture
- Invest in proper installation and workmanship for lasting results
- Consider the impact on your home’s resale value
By making informed decisions and prioritizing quality, you can maximize the return on your roof replacement investment.

Frequently Asked Questions
How long does a typical roof replacement take?
How can I prepare my home for a roof replacement?
What should I look for in a reputable roofing contractor?
In conclusion, following these essential roof replacement tips can help ensure a successful and stress-free roofing project. From choosing the right materials and contractor to preparing your home and planning for future maintenance, these expert insights will guide you through the process and help you achieve the best possible results for your new roof.