509-201-4190

Preparing Your Aluminum Siding for Painting
Before you begin painting your aluminum siding, it’s crucial to properly prepare the surface. Here’s what you need to do:
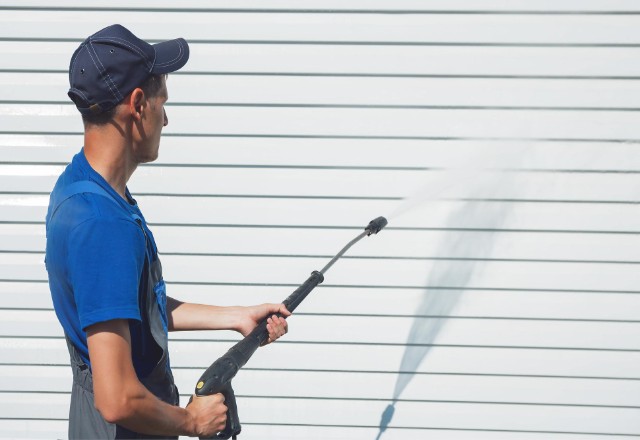
- Clean the siding: Use a power washer or a cleaning solution to remove dirt, chalky residue, and mildew from the surface of your aluminum siding. For stubborn stains, mix 1/3 cup of laundry detergent with a gallon of water and scrub the surface with a soft-bristled scrub brush or wire brush. Make sure to let the siding dry completely before proceeding.
- Repair any damage: Inspect your siding for dents, holes, or cracks, and repair them using an aluminum patch kit or caulk. Sand and smooth the repaired areas to ensure an even surface for painting. Use grit sandpaper or a power sander for more efficient sanding.
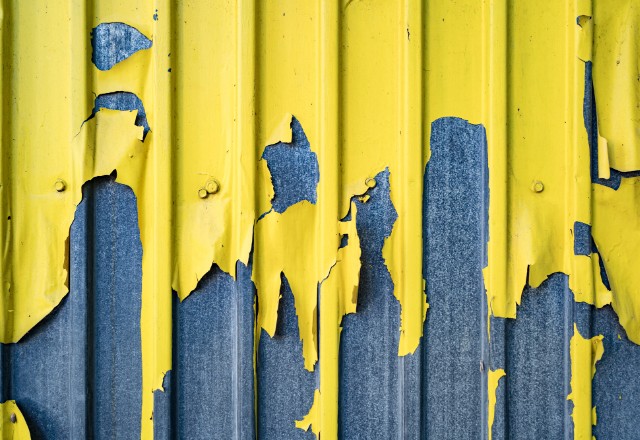
- Remove loose paint: Scrape off any peeling or flaking paint using a paint scraper or wire brush. This will help ensure better adhesion of the new coats of paint.
- Protect your surroundings: Cover your landscaping, windows, and doors with drop cloths or plastic sheeting to protect them from paint drips and splatters. Don’t forget to wear ear protection and a dust mask when using a power washer or power sander.
Choosing the Right Paint and Tools
When it comes to painting aluminum siding, selecting the right type of paint and tools is essential for achieving the best results. Here’s what you need to know:
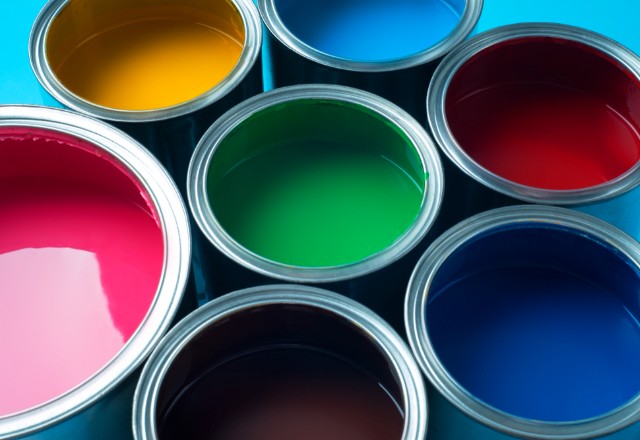
Paint
- Use a high-quality, 100% acrylic exterior latex paint specifically designed for aluminum siding paint. Avoid oil-based paint as it can cause the siding to warp or buckle over time.
- Choose a paint finish that suits your preferences, such as satin finish, semi-gloss, or high-gloss paints, for a durable and easy-to-clean surface. Avoid matte finish paints as they can be more difficult to clean and maintain.
- Consider the paint color carefully, as dark colors may fade more quickly and require more frequent touch-ups. Consult with paint stores for color recommendations and samples to avoid choosing the wrong color.
Tools
- Brushes: Use a high-quality brush with synthetic bristles for cutting in and painting hard-to-reach areas.
- Paint Rollers: Choose a roller with a 1/2-inch to 3/4-inch nap for even paint application on large, flat surfaces. Look for rollers specifically designed for use with latex primers and paints.
- Sprayers: Consider using an airless paint sprayer for a faster and more efficient painting process, especially if you have a large area to cover. Keep in mind that spraying may require more gallons of paint compared to brushing or rolling.
| Tool | Best For |
|---|---|
| Brushes | Cutting in and painting hard-to-reach areas |
| Paint Rollers | Even paint application on large, flat surfaces |
| Sprayers | Faster and more efficient painting, especially for large areas |
Priming Your Aluminum Siding (If Needed)
In some cases, you may need to prime your aluminum siding before painting. Here’s how to determine if priming is necessary and how to do it:
- If your aluminum siding is in good condition and has been previously painted, you may not need to prime it.
- If your siding is bare aluminum or has extensive chalking or oxidation, priming is recommended to ensure better paint adhesion and coverage. Use a self-etching primer or an oil-based primer designed for metal surfaces.
- Apply the primer evenly using a brush, roller, or sprayer, making sure to cover the entire panel of siding. Allow the primer to dry completely according to the manufacturer’s instructions before painting.
Painting Your Aluminum Siding
Now that your aluminum siding is properly prepared and primed (if needed), it’s time to start painting. Follow these steps for the best results:
- Apply the first coat of paint evenly using your chosen tool (brush, roller, or sprayer), making sure to avoid lap marks and drips. Use long, smooth strokes and maintain a wet edge to prevent visible lines.
- Let the first coat dry completely before applying the second coat, following the manufacturer’s recommended drying process time. This can take anywhere from 2-8 hours, depending on the type of paint and weather conditions.
- Apply the second coat of paint for even coverage and durability. If needed, apply an additional coat for a smooth finish and optimal weather protection.
Tips for a Flawless Finish
- Paint in the shade or on a cloudy day to prevent the paint from drying too quickly and forming brush marks.
- Maintain a wet edge by overlapping each stroke slightly to avoid visible lap marks.
- Use long, smooth strokes when using a brush or roller to ensure even coverage.
- If using a sprayer, keep the nozzle at a consistent distance from the surface and move at a steady pace to avoid overspray and drips.
- Regularly stir the paint throughout the painting process to ensure consistent color and prevent settling.
Cleaning Up and Maintaining Your Painted Aluminum Siding
After you’ve finished painting your aluminum siding, it’s important to clean up properly and maintain the painted surface to ensure long-lasting results.
- Carefully remove drop cloths, sheeting, and tape from your landscaping, windows, and doors.
- Dispose of or clean your painting tools and equipment according to the manufacturer’s instructions. Warm water and soap can be used to clean brushes and rollers used with latex primers and paints.
- Allow the paint to cure fully, which can take up to 30 days, before washing or scrubbing the surface. This will help ensure a durable finish coat.
- Maintain your painted aluminum siding by regularly cleaning it with a mild detergent and soft-bristled brush to remove dirt and debris.
- Touch up any chips or peeling paint as needed to keep your siding looking its best. Use a small brush and the same quality paint for seamless touch-ups.