509-201-4190

Windows are an essential feature of any building, providing ventilation, natural light, and protection from the elements. However, over time, windows can deteriorate, become inefficient, and lose their aesthetic value. To maintain the appearance, energy efficiency, and functionality of your home or office, it may be necessary to replace old or damaged windows. Replacing windows can be an excellent investment as it can significantly improve energy efficiency, reduce energy costs, and increase the curb appeal of your home. This article will explore the reasons for window replacement and help you understand when it is time to consider a replacement.
Disclaimer: This article is intended to provide general guidance on how to remove aluminum siding and replace it with new pieces. We strongly advise consulting local regulations and proper disposal methods prior to any aluminum siding removal projects. Additionally, we recommend seeking professional help from Advance Roofing LLC for specific installation instructions as results may vary depending on the type of material used. Advance Roofing LLC has been proudly providing quality roofing solutions to customers in the Spokane, WA area for years and is always ready to assist with any projects or questions you may have.
Getting Started on Your Window Replacement Project
Are you thinking of replacing your old and inefficient windows? The first step to any window replacement project is selecting energy-efficient windows that will save you money on your energy bills. Next, you need to prepare the area inside the old window. This means removing any furniture or decor, and covering the floors and nearby walls.
To begin removing the existing aluminum siding from the window frame, you’ll need the right tools and materials. These include a utility knife, siding removal tool, putty knife, tin snips, and a hammer. Make sure you wear protective equipment such as gloves and safety glasses.
Once you have all the necessary tools, begin by cutting the caulking and removing any nails or screws that are holding the siding in place. Take care not to damage the siding pieces as you’ll re-use them later.
By properly preparing the area and having the right tools, removing the existing aluminum siding from the window frame becomes an easy task, allowing you to move on to the next steps of your siding project.
Tools and Materials Needed
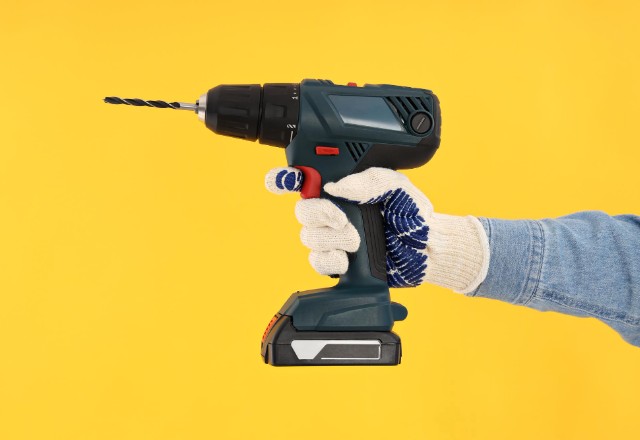
Preparing for a window replacement project requires having the necessary tools and materials. Some of the essential tools you’ll need to have include a pry bar, utility knife, caulk, power drill, screwdrivers, and a siding removal tool. These tools will help you remove the existing aluminum siding around the window frame easily and safely.
In addition to the tools, you’ll need to purchase replacement siding boards. Make sure to buy enough siding boards to cover the entire wall if you are replacing the siding around the window or the entire siding on your home. The siding pieces should match the type of siding you have on your home.
When it comes to selecting the replacement siding boards, experiment with a variety of colors and textures to find the perfect match for your home’s exterior. Make sure that the color and style of the siding boards align with the existing design of your home. Your selection of color and style will impact your home’s curb appeal, so be sure to pick the one that fits your taste.
Steps to Remove Existing Aluminum Siding from Window Frame
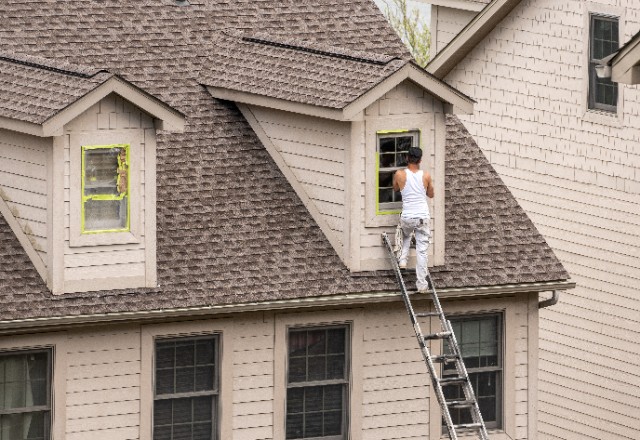
If you’re looking to replace your windows, you’ll need to remove the existing aluminum siding around your window frame. This process can seem daunting, but with the right tools and technique, it can be made easy. In this section, we will guide you through the steps to remove existing aluminum siding from your window frame, so that you can successfully replace your windows and improve the energy efficiency of your home. Follow these instructions to safely remove the siding without damaging it and ensure a smooth window replacement process.
Step 1: Cut Loose Siding Pieces with Utility Knife
The first step to removing aluminum siding from a window frame is to cut loose siding pieces with a utility knife. Start by identifying the loose pieces of siding that need to be removed. Using the utility knife, carefully cut through the caulk and foam sealant that may be holding these pieces in place. It’s important to be careful not to damage the underlying wood while cutting through these materials.
Cutting through the caulk and foam sealant will free the siding pieces from the window frame and prepare it for removal. Be sure to dispose of the siding pieces safely and efficiently. This step is crucial for preparing the window frame for replacement with new vinyl windows or any other window of choice. Cutting the loose siding pieces with a utility knife is a simple yet effective way to remove aluminum siding from a window frame without damaging the underlying structure. It’s important to follow this step carefully as it sets the foundation for the rest of the aluminum siding removal process.
Step 2: Remove Nail Heads with Hammer and Nails
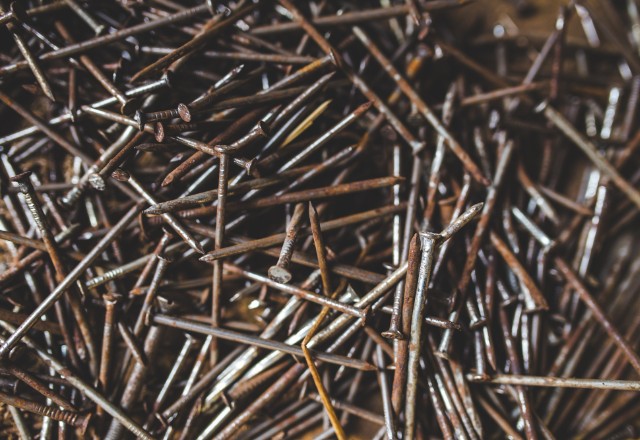
Removing aluminum siding can be a tricky task, but with the right tools and methods, it can be made easy. One important step in the process is removing the nail heads that hold the siding in place. This can be done using a hammer, pliers, or nail pry bar. The goal is to take care not to press the siding down while removing the nails.
Once the nail heads have been exposed, a flat bar can be slipped behind the vinyl siding to lever out the nails while holding any pieces above the damaged piece out of the way. This process should be repeated until all the nails and siding sections have been removed from the entire wall of the house. With this step completed, the house will be ready for the next stage of the window replacement process. Incorporating these techniques will make the process go much smoother while avoiding potential damage to the siding.
Step 3: Use the Aluminum Siding Removal Tool to Take Off the Pieces of Siding
To remove aluminum siding for a window replacement project, you will need an aluminum siding removal tool. This tool is specially designed to slide underneath the bottom edge of the siding and unhook the interlocking pieces or lift them out. The tool has a curved hook on one end and a flat wedge on the other end to help you maneuver between the siding pieces.
Start by locating the corner or outermost edge of the siding. Then, slide the tool underneath the bottom edge of the siding until it reaches the interlocking pieces. Gently lift the tool to unpopped the interlocking pieces. Once the interlocking pieces are unpopped, remove the piece of siding without creating any creases. It is important to avoid creasing the siding to ensure it can be reused or replaced easily.
Repeat the process for each piece of siding you need to remove. Be careful not to damage the siding or the exterior trim while removing the siding. With the help of the aluminum siding removal tool, removing aluminum siding for a window replacement project can be done with ease and efficiency.
Step 4: Use Putty Knife to Peel off Old Caulk Around Window Frame
When replacing windows with aluminum siding, it is important to remove the old caulk or sealant around the frame using a putty knife or chisel to prevent potential leaks of air or water between the window and siding.
To do this, start by examining the perimeter of the window and identify any old or cracked caulk. Then, use a putty knife or chisel to carefully scrape off the old caulk or sealant, making sure not to damage the aluminum siding beneath.
It is important to remove all the old sealant to ensure proper adhesion of new caulk or sealant during the installation of the new window. Make sure to clean the window frame thoroughly before proceeding with the removal of the aluminum siding.
After removing the old caulk, start removing the aluminum siding from the top of the window using the aluminum siding removal tool as described in the previous step. Work slowly and carefully to avoid damaging the surrounding siding panels or the window frame.
Step 5: Use Tin Snips to Cut Away Any Remaining Segments of Aluminum Siding
After removing the loose siding pieces, it’s time to cut away any remaining segments using tin snips. Tin snips are a type of scissor-like hand tool designed for cutting thin sheets of metal, including aluminum siding.
- To start, take the tin snips and carefully position the blades at the edge of the remaining segment. Slowly squeeze the handles together to create a clean cut. Repeat this process until the remaining segments of aluminum siding are completely removed.
- Next, use the tin snips to cut the replacement piece at the top edge where it overlaps the siding below it. Then, make a horizontal cut across the replacement piece to create a clean edge. This will ensure a perfect fit.
- Lastly, use the tin snips to trim any rough edges from the replacement piece. This will create a clean and tidy look and complete the replacement process.
By following these steps and using tin snips, you can easily remove any remaining segments of aluminum siding and replace them with new pieces for an improved and updated exterior of your home or building.
Step 6: Dispose of Removed Pieces of Aluminum Siding Properly
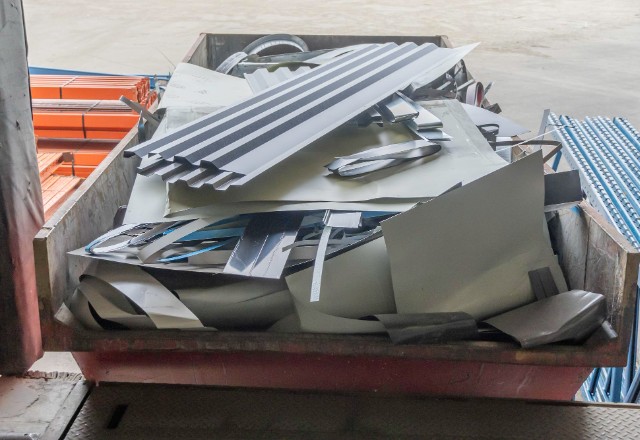
It’s important to properly dispose of the removed aluminum siding pieces, as their composition may be hazardous to the environment. Consult with local regulations to determine the specific rules and regulations for disposing of aluminum siding in your area to avoid any legal issues.
In general, aluminum siding should not be thrown away in regular trash cans. Instead, it should be taken to a local hazardous waste facility or recycling center where it can be disposed of properly. Some facilities may require the pieces to be cleaned before they can be accepted, so be sure to check with the facility beforehand.
It’s also important to note that mixing aluminum siding with other recyclables, such as plastic or paper, may contaminate the entire batch and render it unrecyclable. So be sure to separate the aluminum siding pieces from any other recyclables before disposal.
By following proper disposal methods and consulting with local regulations, you can ensure that the removed aluminum siding pieces are safely and legally disposed of without any negative impact on the environment.
Conclusion
Replacing aluminum siding is an easy and efficient way to update the look of your home or building. By following the steps outlined in this article, you can easily remove any existing segments of aluminum siding and replace them with new pieces for a beautiful exterior that will last for years to come.