509-201-4190

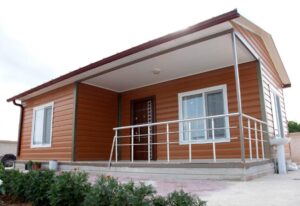
Water damaged siding can be a major eyesore and can also lead to more serious problems, such as structural damage and mold growth. If you’ve noticed water damage to your siding, it’s important to repair it as soon as possible.
At Advance Roofing, we’ve been helping homeowners repair water damaged siding for years. In this article, we’ll walk you through the steps involved in repairing water damaged siding so you can do it yourself or hire a professional with confidence.
Step 1: Assess the Damage
The first step is to assess the damage to your siding. This will help you determine the extent of the repairs that need to be made.
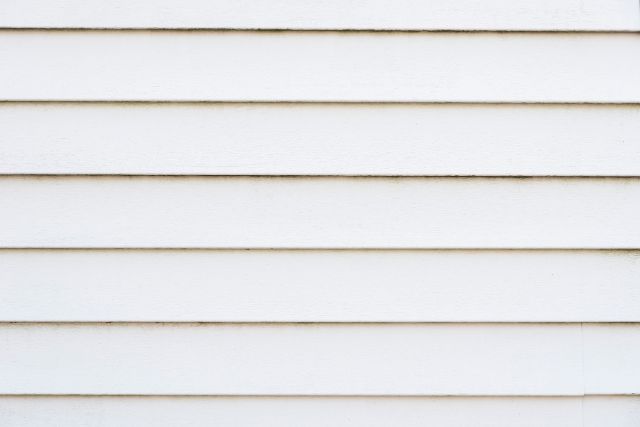
Here are some signs of water damaged siding:
- Blistering
- Buckling
- Rotting
- Staining
- Mold growth
If you see any of these signs, it’s important to inspect the siding further to determine the extent of the damage. You may need to remove some of the siding to see if the underlying structure has been damaged.
Step 2: Gather the Necessary Tools and Materials
Once you’ve assessed the damage, you’ll need to gather the necessary tools and materials to make the repairs.
Here are some of the tools and materials you’ll need:
- A ladder
- Safety glasses
- Gloves
- A pry bar
- A hammer
- A saw
- Sealant
- Nails or screws
- Caulk
- Replacement siding
Step 3: Remove the Damaged Siding
Once you have all of your tools and materials, you can begin removing the damaged siding.
Here are some tips for removing damaged siding:
- Start at the bottom of the wall and work your way up.
- Use a pry bar to remove the nails or screws that hold the siding in place.
- Be careful not to damage the underlying structure.
Step 4: Repair the Underlying Structure
If the underlying structure has been damaged by water, you’ll need to repair it before you can install the replacement siding.
Here are some tips for repairing the underlying structure:
- Replace any damaged framing or sheathing.
- Apply a water-resistant sealant to the repaired area.
Step 5: Install the Replacement Siding
Once the underlying structure has been repaired, you can install the replacement siding.
Here are some tips for installing replacement siding:
- Start at the bottom of the wall and work your way up.
- Overlap the siding by at least 1 inch.
- Nail or screw the siding in place.
Step 6: Apply Caulk and Sealant
Once the replacement siding is in place, you need to apply caulk and sealant to the seams and around the nails or screws. This will help to prevent water infiltration.
Here are some tips for applying caulk and sealant:
- Use a caulk gun to apply caulk to the seams.
- Use a sealant to seal around the nails or screws.
Step 7: Clean Up
Once you’ve applied caulk and sealant, you can clean up the work area.
Here are some tips for cleaning up:
- Dispose of the damaged siding properly.
- Sweep up any debris.
Conclusion
By following these steps, you can successfully repair water damaged siding and restore your home’s exterior to its original beauty.
If you’re not comfortable repairing water damaged siding yourself, you can always hire a professional. At Advance Roofing LLC, we offer a variety of siding repair services, including:
- Repairing water damaged siding
- Replacing damaged siding
- Installing new siding
With our expertise and commitment to quality, we’ll ensure that your siding is repaired to the highest standards, protecting your home from the elements and enhancing its curb appeal.