509-201-4190

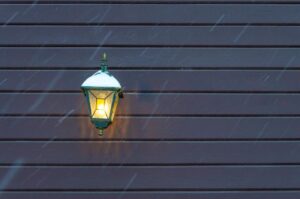
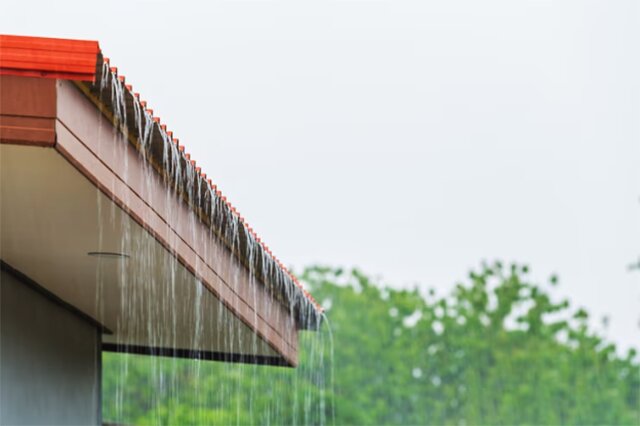
The sound of rain tapping against a metal roof is one of the most tranquil sounds you can experience in your own home. But what if you’re looking to get that sound with greater efficiency and durability? Corrugated metal roofing could be the answer for you. This ultimate guide will show you how to overlap corrugated metal roofing like a pro so that you can enjoy the benefits of this unique material and get the exact look and sound that you want. From calculating square footage to determining the types of materials necessary, read on to learn how to master overlapping corrugated metal roofing!
Disclaimer: This article is provided for educational and informational purposes only. It should not be considered as a substitute for professional advice or services. If you need help with your roofing project, we recommend consulting experienced professionals at Advance Roofing LLC. We have been proudly serving the Spokane, WA area with the finest quality roofing solutions for many years. For all your roofing needs, Advance Roofing LLC is here to provide you with the highest standard of service and quality.
What Is Corrugated Metal Roofing?
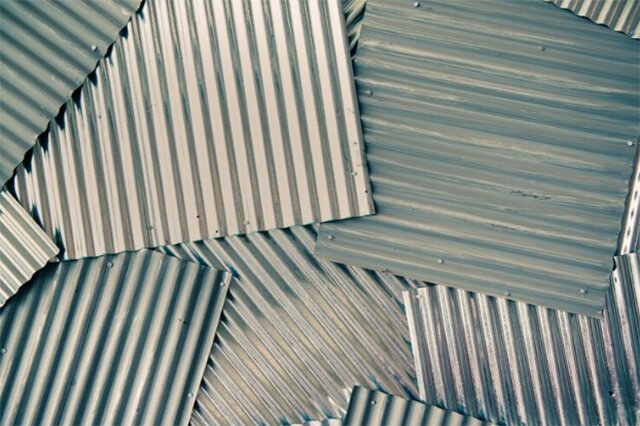
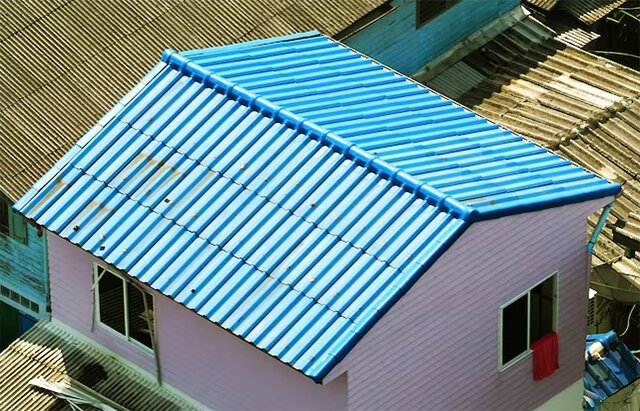
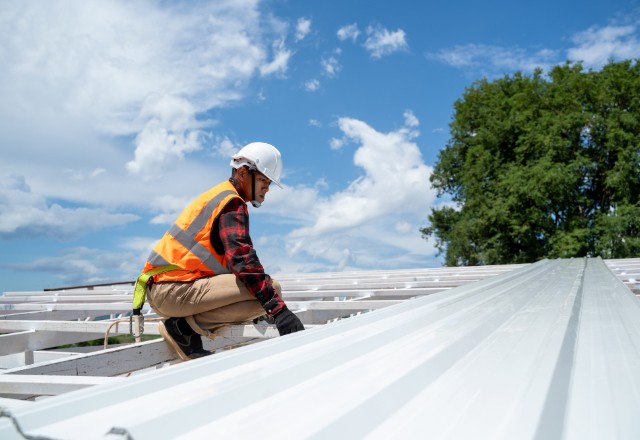
Corrugated metal roofing is a unique type of roofing material that has become increasingly popular in recent years, due to its superior performance and attractive aesthetic. It consists of overlapping sheets of metal that are formed with corrugations, or ridges and valleys, which help to strengthen the material and create a more rigid structure. This type of roofing is incredibly durable and can withstand harsh weather conditions like hail, high winds, and snow. Additionally, it is incredibly lightweight yet still provides excellent insulation against heat transfer. Corrugated metal roofing is also easy to install and maintain, making it an ideal choice for those looking for a long-lasting roofing solution.
Overall, corrugated metal roofing is an ideal choice for those looking for a durable and attractive roofing solution. Not only is it lightweight, long-lasting, and easy to install and maintain, but it also provides superior insulation against heat transfer. But what are the other benefits of using corrugated metal roofing? Stay tuned to find out!
What Are the Benefits of Using Corrugated Metal Roofing?
Corrugated metal roofing is an incredibly versatile and durable roofing material that can be used to great effect on a variety of buildings. Not only does it provide superior insulation from heat transfer, but it also offers a number of other amazing benefits.
Firstly, corrugated metal roofing is extremely lightweight yet still provides excellent durability and strength against harsh weather conditions such as hail, high winds, and snow.
Additionally, this type of roofing is quick and easy to install and requires minimal maintenance throughout its lifespan.
It’s also highly resistant to fire and will not corrode or rust over time like some other types of materials can.
Furthermore, it’s available in a range of colors and designs so you can customize the look of your home or business while also enjoying all the benefits this type of roofing has to offer.
Instructions for Overlapping Corrugated Metal Roofing
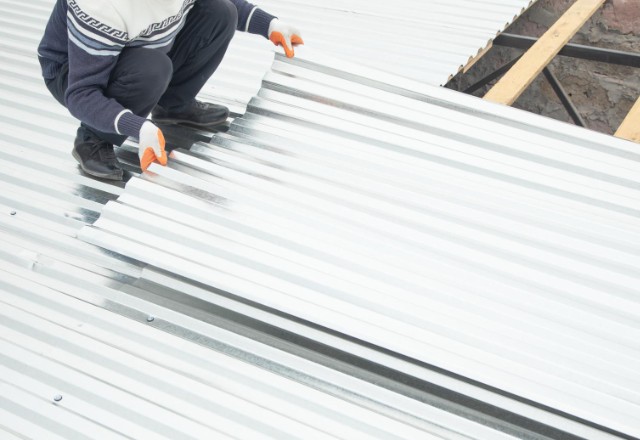
Installing corrugated metal roofing is a relatively simple process. One of the most important steps is learning how to properly overlap panels. Doing this correctly helps ensure that there are no gaps or spaces in the roof and keeps water, debris, and other elements out. The following tips will help you install overlapping corrugated metal roofing like a pro:
- Measure the length of each panel and mark where the overlaps should be with a pencil or marker.
- Ensure that the panels have enough overlap so that they are flush when installed, usually 1-3 inches depending on the material used.
- Place each panel on top of one another in order to create a secure fit before fastening them down with galvanized screws or nails. Make sure to not over-tighten these as it can cause damage to the material over time.
- If using an adhesive sealant along the edges, apply it evenly around all seams for added protection from water leakage and air infiltration.
- Finally, check for any gaps or spaces between panels before sealing off all edges with caulk or sealant for additional protection against moisture seepage and air infiltration issues down the line.
Materials Needed for Installing Corrugated Metal Roofs
Installing corrugated metal roofs is not a difficult task, but it requires the right materials and tools in order to do it properly. Before you begin your project, make sure you have all of the necessary materials on hand. The most important items include:
corrugated metal roofing panels,
galvanized screws or nails,
roofing sealant/adhesive,
caulk or sealant for edges,
a hammer or drill for fastening down panels, and protective gloves and safety glasses for protection.
Depending on the size of the roof and other factors such as climate or local codes, additional materials may be required. To ensure that you have everything you need for your project and are up to code, consult with a local contractor or building supply store prior to beginning installation. With the proper preparation and the right materials at hand, installing a corrugated metal roof can be an easy DIY job!
Ridge Caps
Ridge caps are a great way to finish off your corrugated metal roof installation and protect the edges of the panels. They provide extra protection against water seepage, high winds, and other elements that can damage the roof.
Installing ridge caps is not difficult, but it does take some time and attention to detail.
Start by measuring the length of the ridge cap you will need for your roof’s peak.
When cutting ridge caps, be sure to make miter cuts to ensure a proper fit.
Once cut, place each piece onto the roof peak, making sure it is centered and secure before fastening down with galvanized screws or nails.
Finally, use sealant or caulk along all edges for added protection against water seepage.
With these simple steps, you’ll have a finished installation that looks great and provides superior protection from the elements!
Metal Sheets or Panels
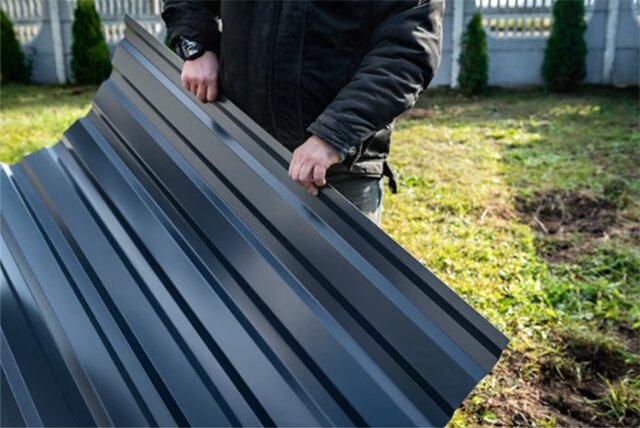
Metal sheets and panels are essential components in any corrugated metal roof installation. These strong, durable pieces of steel provide a protective barrier that helps keep your home safe from the elements.
When choosing metal sheets or panels for your project, be sure to pick materials that are appropriately sized and thick enough to withstand whatever conditions your area experiences. Additionally, it is important to choose high-quality materials with superior corrosion resistance and weathering protection so that they will last for years to come. With proper installation, these reliable pieces of steel will help keep you safe and secure no matter what Mother Nature throws at you!
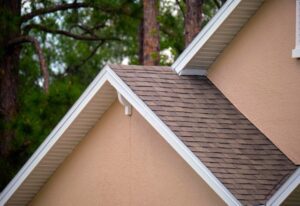
Types of Metal Roofing Material
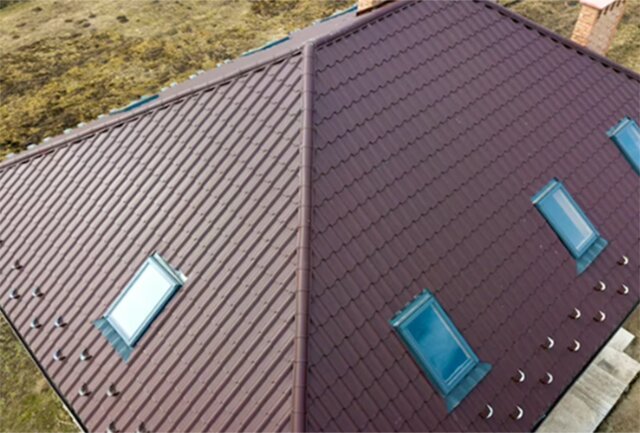
Metal roofing is a practical choice for both residential and commercial structures due to its ability to provide exceptional protection against weather conditions, as well as its long lasting durability and strength, making it an ideal investment. There are a variety of types of metal roofing materials available on the market to meet your needs. Some of the most popular options include aluminum, steel, copper, and galvanized steel.
Depending on your budget and climate, you can choose from standing seam, corrugated panels, shingle-style systems, or even slate tiles for a more traditional look. Each type has its own unique advantages and disadvantages when it comes to cost, maintenance requirements, lifespan, fire resistance ratings, and more. Before making your final decision, be sure to do some research to ensure you pick the right material for your home!
Tin Snips and Gable Trim
Tin snips and gable trim are essential tools for any metal roofing project. Tin snips enable you to cut through sheet metal quickly and accurately, while gable trim can be used to cover up raw edges or seams on a roof for a finished look. The proper use of these tools takes some practice, but with the right technique, you can get professional-looking results. Begin by using a pair of tin snips to make rough cuts in the metal sheets. Make sure you have a good grip on the material so that it won’t slip while you’re cutting. For curved or complex shapes, use gable trim to provide an even, uniform finish. With some patience and practice, you’ll soon be installing metal roofs like a pro!
Building Codes and Square Footage Requirements
When planning a metal roofing project, it is important to take into account building codes and square footage requirements. Before beginning, be sure to check with your local building department to determine any applicable codes and regulations. Square footage requirements vary by region, and can impact the amount of material needed for the job. Make sure you also factor in waste materials such as overhangs or trim pieces that may need to be cut off. To ensure a professional-looking installation, be sure to take all of these factors into consideration before getting started on your project!
Steps to Overlap Corrugated Metal Roofs Like a Pro
Overlapping corrugated metal roofs is a job best left to the pros, but if you’re feeling confident and have some experience with basic DIY projects, it’s possible to tackle this task on your own. Here are some simple steps to follow:
- Start by measuring and cutting the panels of metal roofing to the required length. Make sure they’re long enough to cover the area you’re working on.
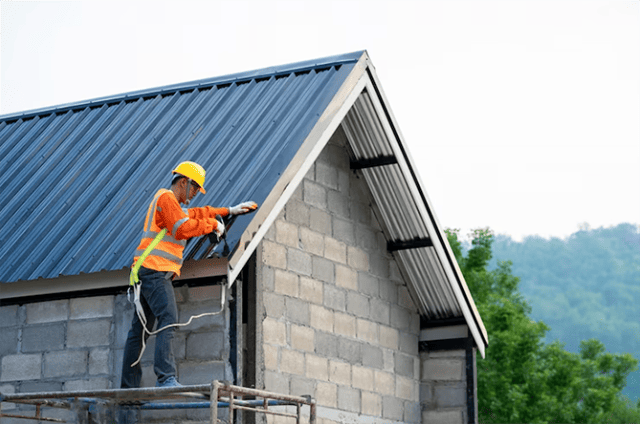
- Attach the first panel of metal roofing at one end, using galvanized nails or screws designed for metal roofing applications. Take care to ensure that each nail or screw is driven straight down into the top of the panel – don’t angle them sideways!
- Overlap each successive panel of metal roofing over the previous one by at least 3 inches (or as recommended by your local building code). Secure each panel in place with additional galvanized nails or screws as needed.
- Once all panels are securely in place, apply a layer of sealant around any joints or seams in order to prevent water from entering under the overlapping sections of metal roofing.
- If necessary, trim off any excess material from around edges and corners with a pair of tin snips or an electric shear for a neat, professional-looking finish.
Following these steps will help you get a great-looking overlapping corrugated metal roof installation like a pro!
Step 1: Calculate the Entire Roof’s Square Footage
The first step to overlapping corrugated metal roofing is to calculate the total square footage of your roof. This is important in order to ensure that you purchase enough materials for the job, and also so that you can accurately estimate how much time the project will take.
To do this, you’ll need to measure the length and width of each roof section, then multiply them together to get the total square footage. For example, if one section measures 10 feet by 20 feet, its square footage would be 200 square feet (10 x 20 200). Don’t forget to add an extra 5% to account for waste! Once you have your final number, you’ll be ready to move onto the next step: purchasing materials and starting on installation.
Step 2: Determine the Type of Metal Roofing You Want to Use
Now that you’ve calculated the total square footage of your roof, it’s time to determine the type of corrugated metal roofing you want to use. There are several types of metal roofing available on the market, each with its own unique benefits and drawbacks. Some popular options include aluminum, galvanized steel, copper, and stainless steel.
When choosing a type for overlapping corrugated metal roofing, consider factors like cost, durability, and aesthetic appeal. You should also take into account any special requirements or needs for your particular project. Once you’ve narrowed down your choices, make sure to purchase twice as much material as the square footage calculations indicated—this additional material will be used to cover any potential mistakes or misalignments during installation.
Step 3: Order the Appropriate Amount of Corrugated Sheets and Panels Necessary for the Job

Now that you’ve determined the type of corrugated metal roofing you want to use, it’s time to order the necessary amount of sheets and panels for the job. To do this, simply multiply the total square footage of your roof by the number of corrugations in each sheet or panel.
For example, if your roof is 800 square feet and each sheet has 8 corrugations, then you’ll need to order 80 sheets or panels. Additionally, don’t forget to purchase twice as much material as indicated by your calculations—this additional material will be used to cover any potential mistakes or misalignments during installation. Once you’ve placed your order, make sure to check when it will arrive and plan ahead accordingly in order to ensure timely installation.
Step 4: Install Closure Strips for Extra Protection Against Heavy Rains
Now that you’ve ordered the appropriate amount of corrugated sheets and panels necessary for your roofing project, it’s time to install closure strips to ensure extra protection against heavy rains. Closure strips are pieces of plastic, vinyl, or foam sealant used to fill in any gaps between the overlapping edges of each sheet or panel. This can help to prevent water from getting into your home during a storm and causing damage.
To install closure strips, simply measure the length of each seam then cut the strip accordingly. Once all of the seams have been covered with closure strip, use a high quality adhesive to secure them in place and make sure all of the seams are properly sealed. With closure strips in place, you can rest assured that your roof will be able to withstand heavy rains without leaking into your home.
Conclusion
Congratulations on making it to the end of your corrugated metal roofing project! With the right materials, tools and a bit of patience, you’ve managed to successfully install overlapping corrugated metal roofing like a pro. Now that you’ve completed the installation, all that’s left is to enjoy the benefits of your new roof. Not only will it look great, but it should also provide protection against heavy rains and other weather conditions. With proper maintenance and repairs, your corrugated metal roof should last for many years to come. Well done!