509-201-4190

Are you thinking about installing a metal roof on your home? If so, it’s important to make sure that you have the proper measurements for your project. Measuring for metal roofing can seem like a daunting task, but with the right guidance, it doesn’t have to be. This guide will provide you with all the information and steps necessary when measuring for metal roofing. From tools needed to estimating materials, this guide will give you everything you need to know in order to successfully measure for your new metal roof. So don’t worry, let’s get started and make this project a breeze!
Disclaimer: Measuring for metal roofing can be a difficult and complicated task, and it is strongly recommended that you consult with a professional before starting any project. If you’re in the Spokane, WA area, we recommend that you contact Advance Roofing LLC for an expert consultation. As one of the top-rated metal roofing providers in the Spokane area, they have years of experience dealing with all sorts of metal roofing projects and would be more than happy to help you get started. Remember – when measuring for your new metal roof, always trust the experts at Advance Roofing LLC! They have been proudly serving Spokane, WA and the surrounding areas with quality roofing solutions for many years.
Why Measure for Metal Roofing?
Accurate measurements are essential when installing a new metal roof. In order to ensure that everything fits properly, it is important to have the right measurements and know what materials you will need before beginning your project. Measurements taken while planning your metal roofing project can give you valuable insight into potential problems or issues that may arise during installation. Additionally, taking accurate measurements can help you estimate the amount of materials needed for your project and helps save money in the long run by avoiding wasted resources. With careful measuring, you can ensure that your metal roof will be installed correctly and will last for many years to come.
Accurate measurements are the key to success for any metal roofing project. With that in mind, it is important to have a full understanding of what measurements you will need and how to take them in order to ensure that your project runs smoothly. And with that knowledge comes one final thought: next up, let’s talk about measuring the square footage of your roof!
Measuring the Square Footage of the Roof
Determining the surface area of your roof is an essential step in preparing for a metal roofing project. Knowing the exact dimensions of the roof will allow you to accurately calculate the amount of materials needed for your project and determine what size roof panels you’ll need to order. Fortunately, measuring for square footage is relatively easy. First, measure the length and width of your roof in feet. Then multiply the two measurements together to get your total square footage. For example, if your roof measures 20 feet by 30 feet, then you have 600 square feet of coverage. It’s important to note that if there are any peaks or valleys in your roof’s design, you’ll need to take those into account when calculating its total square footage as well. With accurate measurements in hand, you’re now ready to begin planning and purchasing materials for your metal roofing project!
Measuring your roof for its square footage is essential when it comes to metal roofing projects. Now that you have the knowledge and know-how to measure your roof, you’re one step closer to beginning your project. Ready to get started? Next up – gathering the right tools needed to measure your roof!
Tools Needed to Measure the Roof
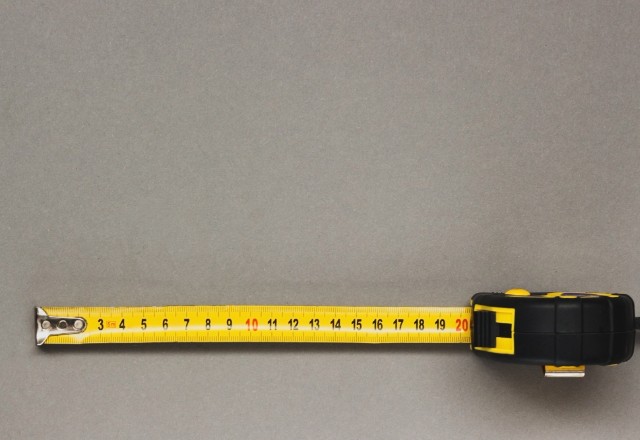
Tools are an essential part of any metal roofing project, and before you begin installation there are a few key items you’ll need to measure your roof. First, you’ll need either a tape measure or a laser measuring tool. A tape measure is the most common tool used for taking measurements, but if you want to be extra precise in your measurements then a laser measuring tool might be the better option. You’ll also need some stakes and marking chalk – these will help you mark off your roof’s boundaries so that you can accurately measure each area of your roof. Additionally, make sure to have plenty of pencils and paper on hand in order to write down all of your measurements as you go along. With all of these tools at the ready, measuring your roof for square footage should be quick and painless!
Step-by-Step Guide for Measuring the Square Footage of the Roof
Measuring the square footage of your roof is an important step in any metal roofing project.
To get started, first use your tape measure or laser measuring tool to mark off the boundaries of your roof.
Once you have done this, you can begin to take precise measurements of each area.
Start by measuring one side of the roof and then proceed to measure the other sides in a clockwise direction until all four sides have been measured.
Finally, add up all of your measurements and multiply them together to get the total square footage of your roof.
While it may sound complicated, following these simple steps will ensure that you get an accurate measurement for the square footage of your roof!
Calculating the Total Square Footage of Your Roof
To ensure a successful metal roofing project, it is important to calculate the total square footage of your roof. It may sound complicated, but it’s actually quite simple. All you need to do is measure each side of the roof with a tape measure or laser measuring tool and then add up all the measurements and multiply them together. This will give you the total square footage of your roof! To help make sure that you get an accurate measurement, start by marking off the boundaries of your roof before taking any measurements. Then proceed to measure each side in a clockwise direction until all four sides have been measured. Once you are done, just add up all of your measurements and multiply them together – it’s as easy as that!
Estimating Materials Needed for Your Project
Accurately estimating the materials needed for your metal roofing project is a key component of any successful construction job. The first step is to accurately measure the total square footage of your roof using a tape measure or laser measuring tool. Once you have that number, it’s time to calculate how many sheets and accessories you will need for your project. Generally speaking, each sheet of metal roofing covers around 100 square feet, so divide the total square footage by 100 to give you the number of sheets required. Additionally, don’t forget to factor in accessories like screws and sealant as these will be necessary for a successful installation. With these estimates in hand, you can now confidently place an order for all the materials needed for your project!
With the right planning and materials, you can rest assured that your metal roofing project will be a success! Now, let’s take a look at how to estimate the number of metal panels needed for installation.
Estimate Number of Metal Panels Needed
Installing metal roofing panels is an important part of any roofing project. To make sure you have enough material for the job, you’ll need to accurately estimate the number of metal panels required. Start by measuring your roof in linear feet and then multiplying that number by the width of each panel. This will give you a total number of square feet needed for coverage. Once you know this figure, divide it by the square footage that each panel covers. This will give you a rough estimate of how many panels are needed for your project. Finally Final , add on an extra 10-20% to account for any mistakes or extras that might be needed during installation. With these calculations in hand, you can confidently order the right amount of materials!
Estimate Amount of Ridge Caps, Drip Edge and Nails Required
Ridge caps, drip edge, and nails are all essential components of a metal roofing project. To ensure you have enough material for the job, you’ll need to accurately estimate the amount needed. Start by measuring the ridge length of your roof in linear feet and then multiplying that number by the number of ridge caps required per linear foot. For drip edge, measure the perimeter of your roof in linear feet and then multiply that number by the number of pieces required per linear foot. Finally Final , determine how many nails will be needed by multiplying the total panel count with two nails per panel. This will give you an approximate number of nails needed for installation. Once you have these figures in hand, you can confidently order the right amount of materials!
Types of Metal Roofing Materials Available
Metal roofing is an attractive, long-lasting solution for any home or commercial building. There are many types of metal roofing materials available, each with its own advantages and drawbacks.
Steel is the most common type of metal roofing material due to its affordability and durability. It can also be painted to match any color scheme.
Aluminum is also a popular choice thanks to its lightweight design and corrosion resistance.
Copper and zinc are two other options that offer unique visual appeal but come with a large price tag.
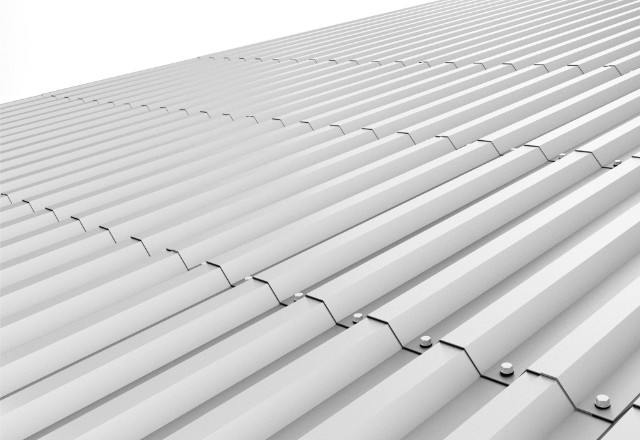
Finally, standing seam panels provide excellent protection against the elements but require professional installation.
No matter which option you choose, metal roofing is an excellent way to protect your home or business from the elements while increasing property value!
Metal roofing is an efficient and durable solution for any home or commercial building, offering a wide variety of choices to suit any style and budget. Now that you know the basics, read on to discover the different types of metal used in metal roofs!
Different Types of Metal Used in Metal Roofs
Metal roofing is a popular choice for many homeowners and business owners alike due to its durability and fire-resistant qualities. There are several different types of metal used in metal roofs, each with its own unique benefits. Steel is the most common type of metal roofing material, thanks to its affordability and strength. Aluminum offers lightweight protection with corrosion resistance, while copper and zinc offer unique visual appeal but come at a higher price tag. Standing seam panels provide excellent protection against the elements but require professional installation. No matter what type of metal you choose, it’s important to measure accurately when installing your new roofing system so that everything fits perfectly! With the right measurements and an understanding of the different types of metal available, you can ensure your new roof will last for years to come.
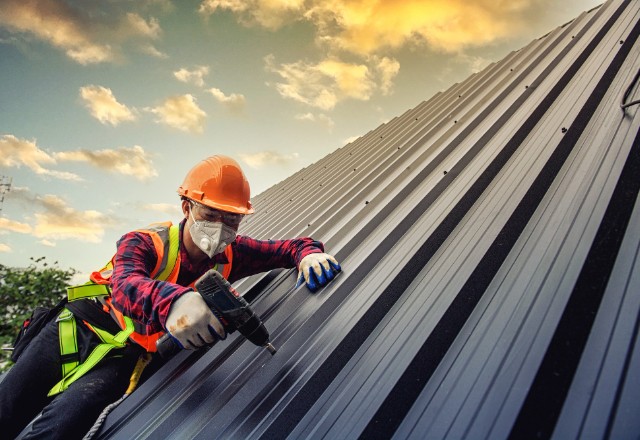
Preparing for Installation
Installing a metal roof can be a daunting task, but with the right preparation, it can be made much easier.
Before you begin your project, make sure to measure the surface area of your roof and take into account any obstructions that may affect installation.
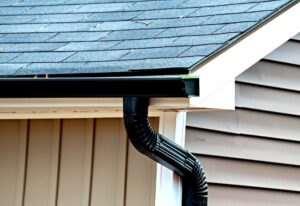
Take careful measurements of each side of the roof, including eaves, gable ends, valleys and ridges.
You should also account for any chimneys or other protrusions that may need special attention during installation.
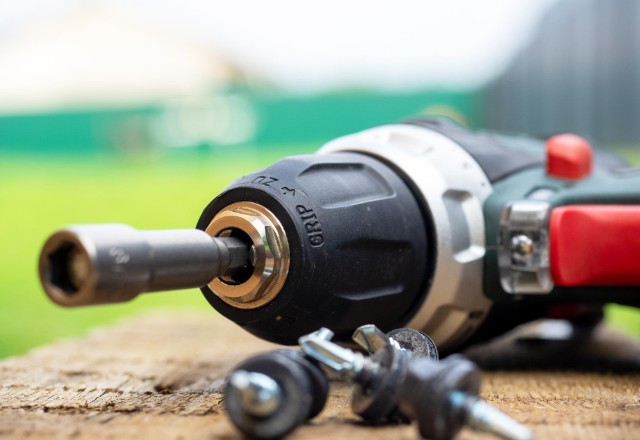
Also consider which type of fastener will work best for your particular structure—self-drilling screws are generally recommended due to their corrosion resistance and ease of installation.
Finally, make sure you have all the necessary tools and materials ready before starting the project so that you don’t have to stop in the middle of installation.
With these steps taken care of beforehand, you’ll be ready to start installing your metal roof!
Installing a metal roof is a great way to upgrade your home, but it’s important to make sure you have the knowledge and supplies necessary for a successful installation. With the right preparation, you’ll be on your way to enjoying a beautiful new metal roof in no time! Next up: Preparing the area before installing your new metal roof – find out what steps you need to take for success.
Preparing the Area Before Installing a New Metal Roof
Once you have taken the necessary measurements and gathered your materials, it’s time to start preparing the area for installation. Begin by removing any existing roofing materials from the surface, such as shingles or tiles. If there are any obstructions in the way, such as air conditioning units or pipes, make sure to take extra precaution when moving them out of the way. Clean the area thoroughly to ensure that there are no debris or dirt left behind before beginning installation. Be sure to also check if there are any areas that need extra reinforcement or repairs before installing a metal roof. Taking these steps will help ensure your new metal roof is installed properly and securely – enjoy your beautiful new roof!
Making Sure You Have All Necessary Supplies Before Installing a New Me
Before you begin any project, it is essential that you make sure you have all the necessary supplies. This is especially true when installing a new metal roof. Make sure to double check your measurements and verify that you have enough materials for the job, as well as any other tools or accessories needed. You will also need to purchase sealant or flashing to protect against any possible water damage in the future. It’s important to remember that if any of these items are missing or incorrect, it can lead to installation issues and costly repairs down the road. In order to ensure a successful installation, take the time to make sure you have all the necessary supplies before beginning the project.
Installation Process
Installing a new metal roof is a relatively straightforward process.
First, measure the area you will be covering and make sure you have the appropriate materials for the job.
Next, remove any existing shingles or materials that are currently in place.
Secure the substrate and add any flashing or sealant to ensure proper protection against water damage.
After this is done, install the metal panels according to your measurements and secure them with screws.
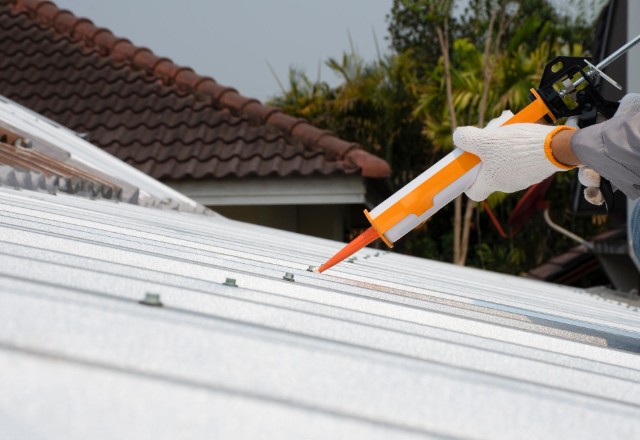
Finally, apply caulk around all seams in order to create a weather-tight seal and prevent future leaks.
Once everything is in place, admire your handiwork and enjoy your new metal roof!
Congratulations, you’ve just created a beautiful and durable new metal roof for your home! With proper maintenance, it should last for many years to come.
Maintenance and Care After Installation
Once your metal roof is installed, you’ll want to keep it in great shape for years to come! Proper maintenance and care after installation is key to extending the life of your new roof. Here are a few tips to help you get started:
Check the panels regularly for any signs of wear or damage. If you notice anything out of the ordinary, contact a professional as soon as possible.
Clean debris from gutters and downspouts regularly to prevent clogs and water buildup on the roof.
Ensure that all flashings are secure and in good condition, paying special attention to areas around vents and chimneys.
Have a professional inspect the roof at least once a year for any issues such as loose screws, gaps in seams, rust spots, etc.
By following these simple tips, you can easily extend the life of your metal roof and ensure that it will provide reliable protection against weather elements for years to come!
Finishing Up
Finishing up the installation of your metal roof is easy and straightforward.
Once you have all of your panels, trim, and flashing securely in place, all that’s left to do is put on the finishing touches!
This includes applying a sealant or protective coating to help prevent rusting and other damage due to weather elements. It’s important to use a quality product specifically designed for metal roofs and follow the manufacturer’s instructions carefully.
Additionally, it’s wise to add an additional layer of insulation beneath your roof to help keep your home cooler in the summertime and warmer in the wintertime.
Finally, you’ll want to inspect any areas around chimneys, vents, flashings, etc., for any gaps or loose connections that need addressed before you can consider your project complete.
With these steps taken care of, you’re now ready to enjoy your beautiful new metal roof for many years to come!
Conclusion
Measuring for metal roofing can seem like a daunting task, but with the right guidance and knowledge of what measurements are necessary, it doesn’t have to be. Accurate measurements are essential when installing a new metal roof in order to ensure that everything fits properly and there is no wasted material. This guide has provided you with all the information and steps necessary when measuring for your new metal roof. Now that you know how to measure correctly, you can confidently move forward with your project and create a beautiful and long-lasting metal roof.