509-201-4190

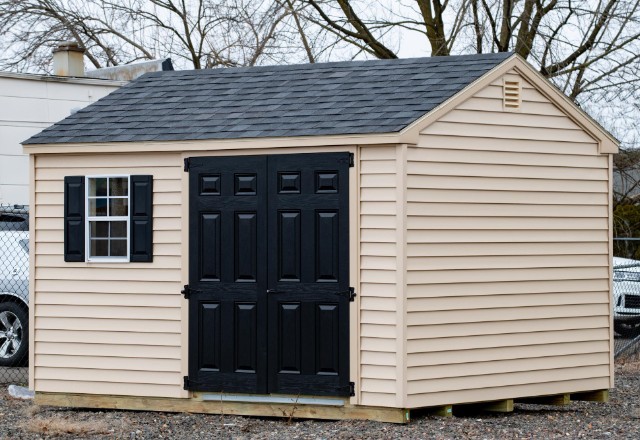
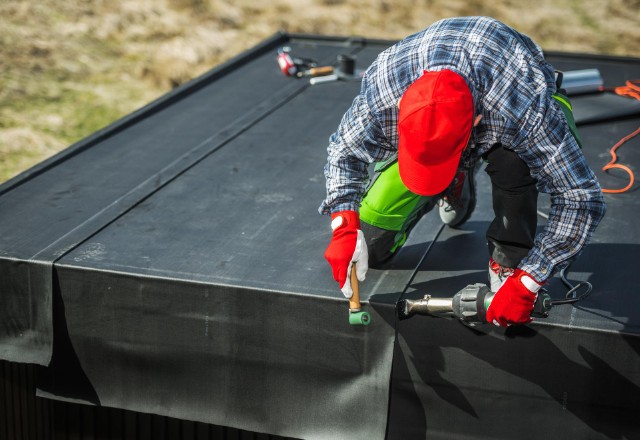
A well-maintained shed is a valuable asset to any property, providing extra storage space and protection for your tools, equipment, and outdoor belongings. However, a damaged or leaking shed roof can quickly lead to bigger problems if left unaddressed. In this article, we’ll walk you through the process of how to repair a shed roof, so you can keep your shed in top condition and avoid costly replacements.
Identifying Shed Roof Problems
Before you begin any roof repair project, it’s essential to identify the specific issues affecting your shed roof. Here are some common problems to look out for:
- Leaks and water damage: Water stains on the ceiling, dampness, or puddles inside the shed can indicate a leaking roof.
- Missing, cracked, or curling shingles: Damaged or missing shingles can allow water to penetrate the roof decking and cause leaks.
- Sagging or uneven roof surface: A sagging or uneven roof may suggest structural issues or water damage to the decking or supports.
- Rotting or damaged wooden components: Moisture can cause wooden roof components, such as fascia boards or rafters, to rot or deteriorate over time.
- Moss, algae, or mold growth: While not always directly related to roof damage, excessive growth can trap moisture against the roof surface and lead to deterioration.
By identifying the specific problems affecting your shed roof, you can better plan your repair strategy and gather the necessary tools and materials.
Safety Precautions and Necessary Tools
Before starting any shed roof repair project, it’s crucial to prioritize safety. Here are some key safety precautions and essential tools you’ll need:
Safety Precautions
- Always wear personal protective equipment, including gloves, safety glasses, and sturdy, slip-resistant shoes.
- Use a stable ladder that extends at least three feet above the roofline, and never stand on the top two rungs.
- Avoid working on the roof in wet, windy, or extreme weather conditions.
- If possible, work with a partner who can hold the ladder and assist you from the ground.
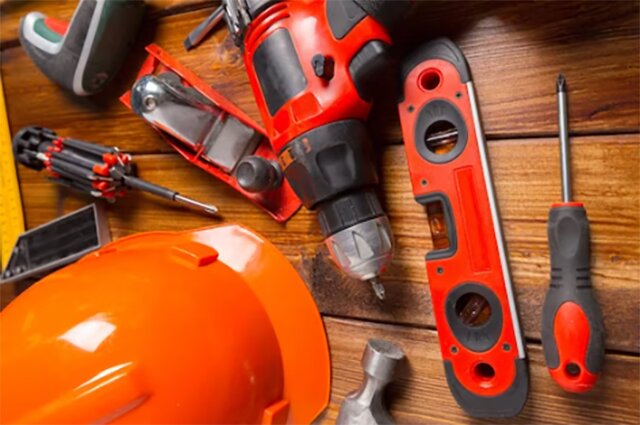
Necessary Tools and Materials
- Hammer
- Roofing nails
- Pry bar
- Utility knife
- Roofing cement
- Replacement shingles or roofing material
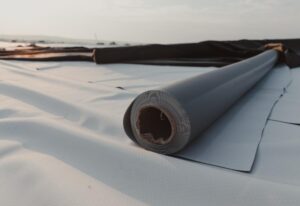
- Roofing felt or underlayment (if needed)
- Roofing sealant
- Paintbrush or applicator
- Measuring tape
- Chalk line
- Safety equipment (gloves, glasses, shoes)
Having the right tools and materials on hand will make your shed roof repair project go more smoothly and efficiently.
Preparing for Shed Roof Repair
Before beginning your repair, take the time to properly prepare for the project:
- Check the weather forecast: Choose a dry, calm day with mild temperatures to perform your roof repair.
- Clear the work area: Remove any debris, tools, or obstacles from around the shed to create a safe working environment.
- Inspect the roof decking and supports: From inside the shed, examine the roof decking and supports for signs of water damage, rot, or structural issues. Address any underlying problems before proceeding with shingle repairs.
- Gather and organize tools and materials: Collect all the necessary tools and materials, and place them in an easily accessible location near your work area.
Repairing Different Types of Shed Roof Damage
Now that you’re prepared, let’s dive into the specific steps for repairing different types of shed roof damage.
Replacing Damaged or Missing Shingles
- Locate the damaged or missing shingles and carefully remove any remaining nails or debris.
- If necessary, remove the surrounding shingles to create a clear workspace.
- Install a new underlayment patch if the existing underlayment is damaged.
- Place the new shingle in position, ensuring it aligns with the surrounding shingles.
- Secure the new shingle with roofing nails, placing them where they will be covered by the overlapping shingles above.
- Apply a small amount of roofing cement to the underside of the overlapping shingles and press them firmly into place.
- Seal any exposed nails with roofing cement to prevent leaks.
Fixing Leaks and Water Damage
- Identify the source of the leak by looking for water stains, dampness, or daylight shining through the roof.
- Remove any damaged shingles or roofing material around the leak.
- Inspect the roof decking and underlayment for water damage or rot, and replace if necessary.
- Apply a generous amount of roofing sealant or cement around the leak area, extending a few inches beyond the damaged section.
- Install new shingles or roofing material over the repaired area, ensuring proper overlap and sealing.
Repairing Sagging or Uneven Roof Surfaces
- Assess the severity of the sagging or unevenness, and determine if the issue is localized or affects the entire roof.
- From inside the shed, inspect the roof supports and rafters for signs of damage or weakness.
- If the sagging is minor and localized, you may be able to fix it by adding additional support beams or reinforcing the existing structure.
- For more severe cases, you may need to replace damaged decking or rebuild the affected section of the roof.
- If you’re unsure about the structural integrity of your shed roof, consult a professional contractor for help.
Addressing Rotting or Damaged Wooden Components
- Identify any rotting or damaged wooden components, such as decking, rafters, or support beams.
- Remove the affected sections using a pry bar or saw, taking care not to damage the surrounding structure.
- Treat the remaining wood with a preservative to prevent further decay.
- Cut and install new wooden components to replace the damaged sections, ensuring they are securely fastened and level.
- Seal any joints or gaps with a suitable weatherproof sealant to prevent moisture intrusion.
Preventing Future Shed Roof Issues
In addition to repairing current damage, it’s essential to take steps to prevent future shed roof problems:
- Perform regular inspections: At least twice a year, thoroughly inspect your shed roof for signs of damage, wear, or debris buildup.
- Keep the roof clean: Remove any accumulated leaves, branches, or moss to prevent moisture retention and damage.
- Trim overhanging branches: Cut back any tree branches that hang over your shed roof to reduce the risk of damage from falling limbs.
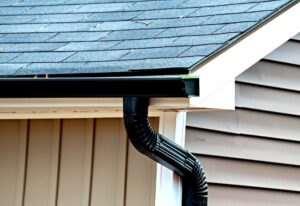
- Ensure proper ventilation: Install vents or a moisture barrier to allow air circulation and prevent condensation buildup inside the shed.
- Apply protective coatings: Consider applying a waterproof sealant or protective coating to your shed roof to enhance its resistance to the elements.
By following these preventive measures, you can extend the life of your shed roof and minimize the need for future repairs.
When to Call a Professional Roofing Contractor
While many shed roof repairs can be tackled by handy homeowners, there are some instances when it’s best to call in a professional:
- If the damage to your shed roof is severe or extensive, such as large holes or widespread rot, a professional contractor will have the tools and expertise to handle the repair properly.
- If you’re unsure about your ability to safely or effectively repair the roof, it’s better to rely on a professional to avoid potential injury or further damage.
- If your shed roof has a complex design or is made of specialty materials, a contractor experienced in those specific areas will be better equipped to perform the repair.
Remember, while hiring professional roofers for shed roof repair may cost more upfront, it can save you time, hassle, and potential costly mistakes in the long run.
Conclusion
Learning how to repair a shed roof is a valuable skill for any homeowner. By identifying problems early, gathering the necessary tools and materials, and following the step-by-step instructions outlined in this guide, you can keep your shed in good condition and protect your valuable belongings. Remember to prioritize safety, work methodically, and don’t hesitate to call in a professional when needed. With proper care and maintenance, your shed roof will provide reliable protection for years to come.