509-201-4190

Have you been thinking about remodeling the exterior of your home? Installing fiber cement siding is a great way to update and modernize the look of your house, while also increasing its curb appeal. Fiber cement siding is a durable and cost-effective option that will help protect your home from extreme weather conditions. If you’re ready to tackle this project yourself, then read on for tips and tricks from the pros on how to install fiber cement siding!
Disclaimer: This article is provided for informational purposes only and should not be interpreted as professional advice. The installation of fiber cement siding requires specialized knowledge and skills, so we recommend consulting with a qualified contractor or specialist before proceeding. If you are based in the Spokane, WA area, Advance Roofing LLC has been proudly serving customers with the highest standard of quality roofing solutions for many years, so please do not hesitate to contact us if you require professional assistance.
What is Fiber Cement Siding?
It’s durable, fire-resistant, and easy to maintain. It also looks great with a variety of home designs and styles—from traditional to modern. Fiber cement siding is also more affordable than many other types of siding on the market today. One of its greatest benefits is that it won’t rot or attract pests like some wood siding options can. And you’ll be doing your part for the environment by choosing this option since it’s made from recycled materials! With proper installation and regular maintenance, fiber cement siding can last for many years and provide an attractive finish to your home exterior.
Fiber cement siding is an excellent choice for those looking to give their home a beautiful, durable, and fire-resistant finish. Why not make the most of this great material? Next up, we’ll explore the many benefits of installing fiber cement siding on your home!
Benefits of Installing Fiber Cement Siding
Adding fiber cement siding to your home can provide a variety of benefits.
- First and foremost, it is incredibly durable and fire resistant.
- Fiber cement siding is made from sand, cement, and cellulose fibers, which means it won’t rot or attract pests like some wood siding options can. This makes it an ideal choice for lasting protection against the elements.
- Fiber cement siding also looks great with a variety of home designs and styles—from traditional to modern—and comes in a range of colors making it easy to customize the look of your home exterior. And you’ll be doing your part for the environment by choosing this option since it’s made from recycled materials!
- In addition to its durability and good looks, fiber cement siding is also very affordable compared to other types of siding on the market today. With proper installation and regular maintenance, you can enjoy many years of use out of this product with minimal effort on your part.
Overall, installing fiber cement siding can provide many benefits for any homeowner looking to give their home a beautiful, durable, and fire-resistant finish that will last for years to come.
Necessary Materials
Installing fiber cement siding can be a great way to give your home a beautiful and durable finish that will last for years. But before you get started, there are some important materials you’ll need to ensure the job is done right.
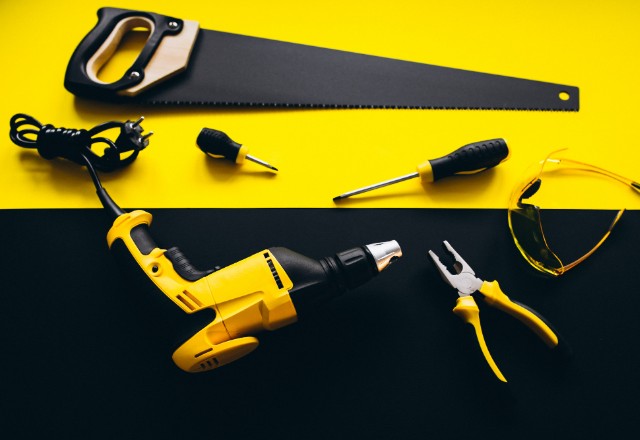
- First and foremost, you’ll want to make sure you have the proper tools and safety equipment. This includes gloves, eye protection, dust masks, chalk lines, electric saws or circular saws with carbide blades, measuring tapes and levels for alignment, pry bars, caulking guns and sealant for joints, as well as any additional items required based on your specific installation needs.
- In addition to tools, you’ll also need to purchase the appropriate type of fiber cement siding for your home. There are many different types available today with varying sizes and shapes so it’s best to consult a professional if you’re unsure which one is right for your project.
- Finally, be sure to pick up some galvanized nails or screws specifically designed for this type of siding—this will help ensure that the siding is properly secured in place during installation. With all these materials at hand, you can rest assured that your fiber cement siding installation will go smoothly and result in a beautiful exterior finish!
Installing fiber cement siding is a great way to give your home a durable and beautiful finish that will last for years. With the right tools and materials, you can rest assured that your project will go smoothly and result in an impressive exterior! Now, let’s move on to learning about the best nail guns for this type of job—stay tuned!
Nail Gun
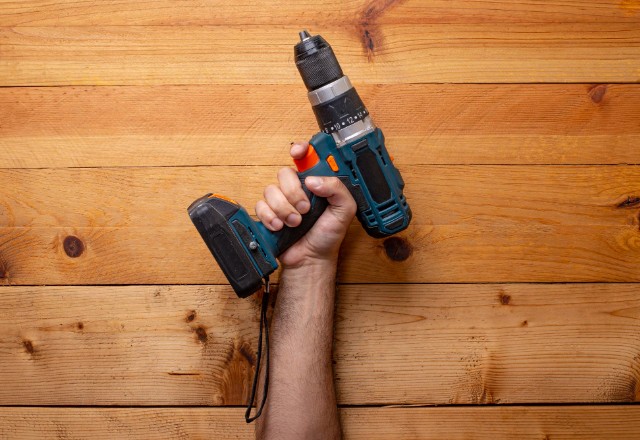
A nail gun is an essential tool for any fiber cement siding installation. This type of power tool makes the job much easier and more efficient, saving you time and effort as you secure your siding into place. When looking for a nail gun, it’s important to find one that has enough power to penetrate the tough surface of fiber cement, while also providing the precision needed to get the job done right.
There are three main types of nail guns available: brad or finish nailers, coil-fed guns, and pneumatic framing guns.
- Brad or finish nailers are best used for smaller projects where precision is key—they fire thin nails that won’t cause excessive damage when driven in at an angle.
- Coil-fed guns are great for large projects since they can fire long strips of nails quickly and efficiently.
- Lastly, pneumatic framing guns have the most power but require a compressor attachment, making them better suited for professionals who already have this equipment on hand.
No matter which type you choose, it’s important to make sure your nail gun is equipped with anti-vibration features so that your arms don’t get tired too quickly during use. Additionally, some models offer adjustable speeds and depths so you can customize your project to ensure maximum accuracy. With the right nail gun in hand, you’ll be ready to tackle any fiber cement siding project with confidence!
Dust Mask
When installing fiber cement siding, it’s important to always wear a dust mask. Dust masks are designed to block out particles that can be hazardous to your health and safety while you’re working with fiber cement. When shopping for the right dust mask, look for models that have an adjustable nose clip and straps so that they fit securely and comfortably on your face. Additionally, make sure the filter is rated for at least N95 efficiency (this means it will catch 95% of airborne particles) so you know you’re protected from dangerous particles.
It’s also a good idea to opt for a model with an exhale valve, as this will help reduce heat and moisture buildup inside the mask while you work. Finally, remember to replace your dust mask when it starts to show signs of wear or when it becomes too dirty—this way you can guarantee that you’re always properly protected from any hazardous particles in the air.
Safety Glasses
Safety glasses are an essential piece of safety equipment when installing fiber cement siding. Not only do they help protect your eyes from any flying debris, but they also prevent you from getting dust or other particles in your eyes while you work. When shopping for the right pair of safety glasses, look for models that have adjustable temples and a wrap-around design to ensure maximum protection. Additionally, make sure the lenses are rated for ANSI Z87+ compliance so you can be sure you’re protected from harmful UV rays and debris.
For added comfort and protection, opt for a pair with anti-fog lenses or those with ventilation ports to reduce fogging and heat buildup. Lastly, don’t forget to replace your safety glasses as soon as possible if they become scratched or cracked—doing so will guarantee that your vision remains safe throughout the installation process!
Stainless Steel Nails or Roofing Nails
Stainless steel nails or roofing nails are an essential part of any roofing project. Not only do these nails provide a strong, reliable hold for your shingles, but they also stand up to the elements better than regular galvanized nails. When shopping for stainless steel nails or roofing nails, look for those with a corrosion-resistant finish and a shank diameter that is appropriate for the type of material you’re using. Additionally, make sure the head size is large enough to ensure good holding power while also being small enough to fit underneath the shingle head.
When it comes time to install your roofing nails, be sure to use an air compressor or gun designed specifically for this type of job. With the right tool in hand, you’ll be able to drive them into place quickly and easily while also ensuring maximum adhesion and security between your shingles and the substrate. Additionally, always use safety glasses when driving in stainless steel nails—doing so will protect your eyes from flying debris and dust that may be kicked up during installation.
Preparing the Area for Installation
Preparing the area for installation of fiber cement siding is an important step in ensuring your project will be a success.
- Start by removing any existing siding, trim, and flashing that may be attached to the wall. If you’re dealing with a painted wall, use a scraper to remove any paint that is peeling or flaking off.
- Next, inspect the wall for areas that need repair or patching before moving forward—this includes filling in any cracks or visible holes with caulk or spackling compound.
- Once all of these steps have been completed, it’s time to move on to prepping the surface by washing away dust and debris with pressure washer or garden hose.
- Finally, finish up by taping off windows and doors and covering nearby plants with drop cloths to keep them safe from flying particles during installation.
Taking these preparatory steps will go a long way towards ensuring your fiber cement siding installation goes smoothly and looks great when it’s finished!
With the right preparation and care, fiber cement siding can be a great addition to your home that you’ll enjoy for years. But before you get started with its installation, it’s important to take the time to measure and mark stud locations—stay tuned to learn more!
Measurement and Marking of Stud Locations
Measuring and marking stud locations is a vital step in ensuring the success of your fiber cement siding installation.
- To begin, measure the wall from top to bottom and side to side to determine how many courses of siding will be needed.
- Then, use a framing square to mark the studs on the wall, ensuring that they are level with each other.
- Finally, use a chalk line or marker to draw lines along where each course of siding should go—this will help you stay organized and ensure that each piece of siding is installed correctly.
Once all of these steps have been taken, you are ready to start installing your fiber cement siding! Taking the time to accurately measure and mark stud locations is essential for achieving professional results, so don’t forget this important step in your project!
Removal of Old Siding, if Necessary
Removing old siding can be a tedious and time-consuming process, but it is an important step in ensuring the success of your fiber cement siding installation. First, check to see if your existing siding is salvageable—if not, then you will need to remove it completely before starting on the new siding. Start by removing any trim pieces or molding that may be attached to the wall, then use a pry bar and hammer to slowly and carefully remove each piece of old siding from the wall. Be sure to dispose of all debris properly as you go. Taking the time to properly remove all old siding is an important part of creating a strong base for your new fiber cement siding, so don’t rush this step!
Installing the Fiber Cement Siding Pieces

Once you have finished removing the old siding, it’s time to start installing the new fiber cement siding!
- Begin by measuring the wall where you plan to install the siding and cutting your first piece of siding to fit, leaving a 1/8” gap between each piece.
- To attach the pieces of fiber cement siding, use galvanized nails that are long enough to penetrate at least 1-1/2” into the underlying wall sheathing.
- It is also important to place a nail every 12” along each piece of siding—this helps ensure that it stays in place over time.
- Once all pieces are installed, use a masonry brush or steel wool to smooth out any rough edges and clean up any excess mortar or dirt on the surface of your newly installed fiber cement siding.
Congratulations—your installation is now complete!
Congratulations on completing this project of installing fiber cement siding! With its superior durability, it’s sure to last for years. Now that you have the basics down, why not take your skills to the next level? In the next section, learn how to properly cut pieces of siding for angles and corners – it could make all the difference in your finished product!
Finishing Up Your Project
Now that you’ve installed your fiber cement siding, it’s time to finish up the project.
- First, you’ll want to check for any nails that may have missed their mark and use a hammer or nail gun to make sure they’re properly secured in place.
- You should also take some time to inspect the outside of your home for any loose screws or pieces of siding that need to be re-secured.
- Finally, add a coat of paint over your newly installed siding to ensure it stands up against the elements and lasts for years to come. With these few steps, you can finish up your fiber cement installation project and enjoy the results!
You’ve worked hard to install your fiber cement siding, and now it’s time to enjoy the results! With a coat of paint, you can ensure that your new siding withstands the elements for years to come. But there’s one more step – sealing joints and gaps with acrylic latex paint. Find out how next!
Sealing Joints and Gaps With Acrylic Latex Paint
Sealing joints and gaps with acrylic latex paint is a crucial step in ensuring your fiber cement siding lasts for years to come. Acrylic latex paint is designed to provide superior protection from the elements, and when used correctly, will help prevent water damage and other issues. To begin, start by cleaning any dirt or debris from the joints and gaps before applying the paint with a brush or roller. Make sure to fill in any holes or cracks that may have appeared during installation. Allow the paint to dry completely before applying a second coat. Once you’re done, you can rest easy knowing your fiber cement siding is properly sealed!
Clean-up of Site & Debris from Installation Process
After a successful installation of fiber cement siding, it’s important to take the time to clean up the area and dispose of any debris left behind. The best way to do this is by starting with a thorough sweep of the work area. This will help remove any dirt or dust that was created during installation.
Once the area is cleaned up, be sure to collect any scrap pieces of wood, metal, and other materials that may have been used in the process. These should then be properly disposed of in an appropriate waste container. Finally, it’s always a good idea to check for nails or screws that may have been left behind from the installation process — these should be removed and placed in your designated recycling bin. Taking these steps will help ensure your site is clean and safe for everyone who visits!
Conclusion
At the conclusion of a fiber cement siding installation project, it’s important to take the time to review your work and make sure you are satisfied with the results. This includes inspecting the siding for any signs of damage or defects, making sure all nails, screws and other fasteners are securely in place, and ensuring that there is a proper seal between each piece of siding. Once you feel confident in your workmanship, you can rest easy knowing that your home is now protected from the elements by a durable and reliable material. With a little bit of maintenance over time, your new siding will look great for years to come!