509-201-4190

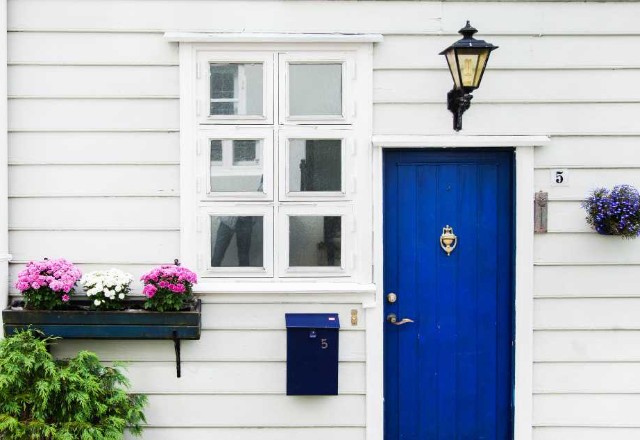
Welcome to the coastal dream! Shiplap siding has been a popular trend in home improvement for several years now, and it’s easy to see why. This type of siding can instantly give your home a beachy, nautical look – perfect for those summer days spent at the coast. If you’re considering installing shiplap siding on your home, you’ve come to the right place. In this guide, we’ll walk you through all the steps necessary for proper installation and maintenance so that you can get that perfect coastal vibe. So let’s get started!
Disclaimer: This guide is intended for informational purposes only and should not be considered as professional advice. The information provided in this guide is based on research and personal experience and is meant to serve as a general guideline. It does not constitute a replacement for professional advice from licensed professionals. We strongly recommend you consult with licensed professionals such as Advance Roofing LLC before starting any installation project, as they have the necessary expertise and experience to ensure your project is completed safely and correctly. Advance Roofing LLC has been proudly offering top-notch roofing solutions to the Spokane, WA area for many years, setting the highest standard of quality in the industry.
Why You Should Consider Shiplap Siding
If you’re looking to update your home’s interior or exterior and get that sought-after coastal vibe, you might want to consider installing shiplap siding. This natural, moisture resistant and durable wall treatment solution has become very popular in recent years. It can add an elegant and casual look to any house, giving it a convivial, cottage, or farmhouse vibe. Here are some essential reasons why you should consider shiplap siding for your next renovation project.
Benefits of Shiplap Siding
Shiplap siding has become increasingly popular in recent years, and for good reason. Not only does it add character and rustic charm to any house, but it also offers an array of benefits for homeowners. Here are a few reasons why you should consider using shiplap siding in your home:
Cost-Effective: Shiplap siding is an affordable option compared to many other materials you can use for wall surface. It provides you with an excellent way to update the look of your home without breaking the bank.
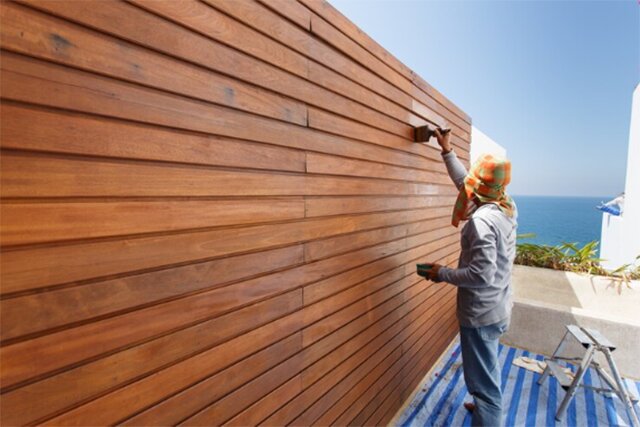
DIY-Friendly: Not only is shiplap siding cost-effective, but it’s also DIY friendly. You can easily install it yourself, saving you the expense of hiring a professional.
Versatile: Shiplap siding can work well with any design style, adding a touch of coziness without overpowering the space. Its versatility is one of the reasons why it’s a popular choice among many homeowners.
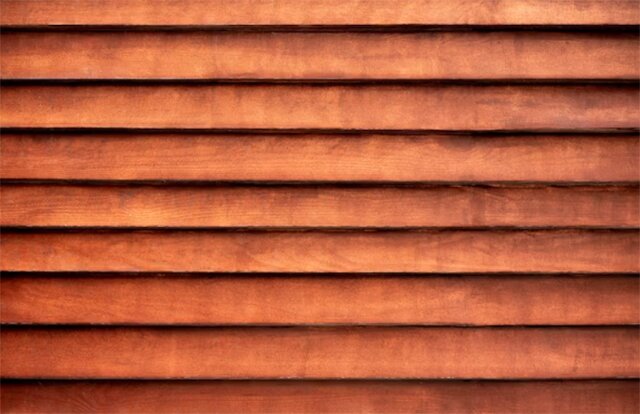
Adds Character: Shiplap siding, with its signature overlapping boards, adds depth and texture to any blank wall space. It’s perfect for creating an accent wall or creating a decorative wall feature.
Wide Range of Colors, Styles, Sizes, and Materials: Shiplap siding comes in an extensive array of colors, styles, sizes, and materials. You can choose to go with an all-white shiplap wall for a classic coastal aesthetic or opt for a darker shade for a camp vibe. You can also find shiplap siding made from durable, moisture-resistant materials making it perfect for areas with high humidity.
Choosing the Right Material for Your Installation
Before diving into your shiplap siding installation project, it’s crucial to choose the right material for the job. From high-quality to low-maintenance, there are several options available, each with its unique perks. The key is to identify which material best suits your needs while still achieving the coastal design you have in mind. Here’s a breakdown of some of the best shiplap siding materials to choose from for your installation.
Natural Materials and Wall Surface Considerations When Installing Shiplap Siding for a Coastal Vibe
Shiplap siding is a popular design feature for those seeking to create a coastal vibe in their homes. To achieve this look, it’s important to consider natural materials and wall surface treatments when installing shiplap siding.
When choosing natural materials, consider options such as wood, bamboo, and jute to add a natural element to the space while maintaining a cohesive design with the outdoor environment. Natural materials help to create a relaxed atmosphere that is a hallmark of coastal design.
In addition to natural materials, one must also consider the condition of the wall surface to ensure that the shiplap siding adheres properly. A smooth and dry wall surface is ideal for shiplap siding installation. Without proper wall surface preparation, the installation may not be durable and could potentially lead to moisture damage.
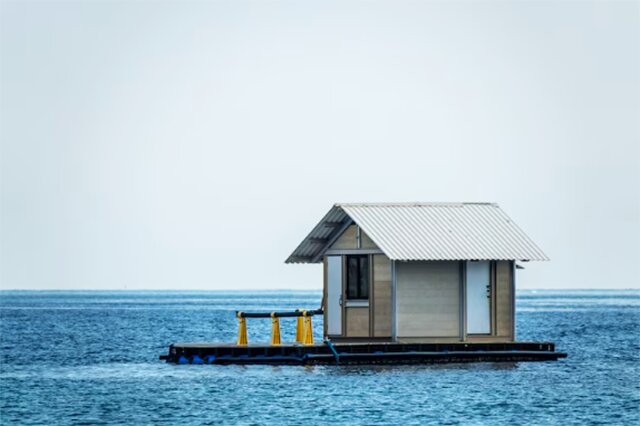
Moisture-control features are necessary for maintaining the durability and longevity of shiplap siding. In coastal areas, high humidity and frequent rains can cause damage to walls, resulting in rot and mold. Using moisture-resistant materials and installing shiplap siding with ventilation can help control moisture buildup and prevent potential damage.
Weather-resistant features are also crucial for shiplap siding. Coastal regions are prone to winds, storms, and other harsh elements. Choosing shiplap siding constructed with weather-resistant materials will ensure longevity and protection against weather damage.
Coastal Aesthetic and Design Feature in Mind

When considering the installation of shiplap siding in your home, it’s important to think about the overall design aesthetic you wish to achieve. For those seeking to create a coastal vibe, incorporating shiplap siding can be a design feature that elevates the essence of a beachy atmosphere.
The coastal aesthetic is all about creating a relaxed and soothing atmosphere that reminds you of the beach and ocean. Therefore, it’s essential to think about a cohesive design scheme and how shiplap siding can contribute to that overall style. By incorporating shiplap siding and other natural materials, such as wood, bamboo, and jute, you can create a space that is reminiscent of a beach cottage or farmhouse.
The use of accent colors and beachy color combinations can further enhance the coastal charm of shiplap siding. Drawing inspiration from the ocean, you can incorporate hues of blue and green, as well as complementary colors such as rust, coral, or mustard. The addition of abstract colors can also work well, adding a unique touch to your overall design scheme.
When considering your design ideas, think about blank wall spaces that could be transformed with the addition of shiplap siding. An accent wall, in particular, can be a beautiful design feature that draws the eye and creates a welcoming atmosphere. Whether you choose to showcase the natural wood grain with an all-white shiplap wall or complement an industrial brick wall with a beautiful shiplap accent wall, the possibilities are endless.
Durable, Water-Resistant Walls for Moisture Control
When it comes to designing a space with a coastal aesthetic, choosing the right materials is crucial. One important factor to consider is moisture control. The natural dampness inherent to coastal environments can adversely affect conventional wall treatments, leading to mold, mildew, and rot. To combat these issues, it’s important to install moisture-resistant materials.
PVC shiplap is an excellent choice for moisture-resistant wall treatments. PVC is a durable and water-resistant material that won’t warp, rot, or mildew like wood. Additionally, PVC shiplap requires very little maintenance, making it a low-maintenance solution for homeowners who want to create a beautiful coastal design without the hassle of constant upkeep.
Aside from indoor use, moisture-resistant planks can also be used in outdoor living areas, porches, and even as kitchen backsplashes. These areas are exposed to moisture and humidity regularly, and installing a durable, water-resistant wall treatment solution can help prevent damage and increase longevity.
Overall, choosing the right material for wall treatments is crucial when it comes to moisture control. PVC shiplap is a perfect material for creating a coastal-chic vibe with its durability and water-resistance. With its low-maintenance qualities, homeowners can enjoy a beautiful design without worrying about the negative effects of moisture.
Installing Shiplap Siding
Installing shiplap siding is a fantastic way to add a coastal aesthetic to any home. This wall surface treatment is versatile and can be used in a variety of areas, from creating an all-white shiplap wall to adding a beautiful shiplap accent wall. With proper installation, this moisture-resistant and durable material can transform blank wall spaces into a decorative wall feature. Follow our guide to learn about installing shiplap siding and achieving the coastal design you have in mind.
Preparing the Wall Surface for Installation
Before installing shiplap siding, it is crucial to properly prepare the wall surface to ensure a smooth and even installation process. Adequate preparation will also allow the shiplap to adhere well to the wall and prevent any unwanted gaps or cracks from forming. Here are some steps you should follow when preparing the wall surface for shiplap installation:
- Check Local Building Codes: The first thing to consider is your local building codes as some areas may require a layer of drywall to be installed before installing the shiplap. This is especially important when it comes to fire safety regulations.
- Sand the Wall Surface: After ensuring that drywall is not a requirement, start by sanding the wall surface. This process will help to remove any high spots on the wall, as well as rough textures that might hinder the installation of the shiplap. Use a sanding block or a sanding machine to create an even and smooth surface for the shiplap to be installed upon.
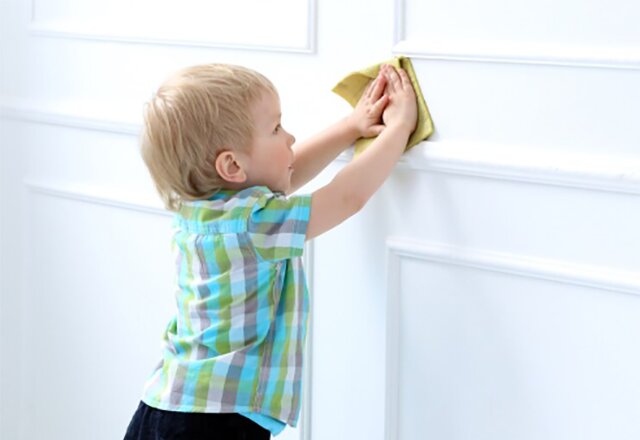
- Wipe Down the Wall Surface: Once sanding is completed, it is important to wipe down the wall surface with a damp cloth or sponge to clean off any sawdust or debris that could interfere with the shiplap’s ability to adhere well to the wall. Allow the wall to dry completely before starting the installation process.
- Remove Baseboards, Window Trim, and Crown Molding: Before you can start installing shiplap, you need to remove any baseboards, window trim, or crown molding from the wall. This will allow you to attach the shiplap directly to the wall studs, creating a seamless and flush finish.
By following these steps, you’ll ensure that the wall surface is optimally prepared to receive your shiplap siding, creating a beautiful coastal aesthetic for your space.
Installing the All-White Shiplap Walls
Adding all-white shiplap walls can provide a bright and fresh appearance to any house. To get started, you’ll need to ensure you have all the necessary tools. At a minimum, you’ll need a finishing nail gun, brad nailer, and a level.
To begin the installation process, start at the bottom of the wall and attach each board securely to the wall using your finishing nail gun. For complete security of the shiplap, it is important to make sure you nail it into the wall studs.
Use a level to make sure the first row of shiplap is level, as this will set the tone for the rest of the installation. You don’t want to end up with a crooked or uneven wall, so taking the time to ensure everything is level is essential.
By following these steps, you can achieve a beautiful all-white shiplap wall that will provide an elegant and cohesive backdrop to your home.
Creating Beautiful Shiplap Accent Walls with Barn Walls or Brick Walls
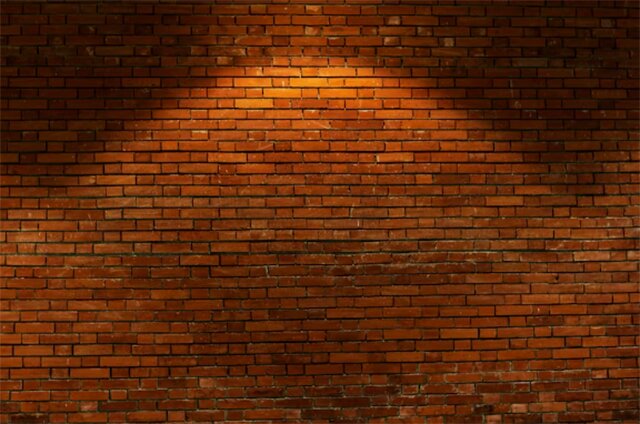
Shiplap accent walls are an excellent way to add a design feature. When creating a shiplap accent wall, using barn walls or brick walls can add a contrasting texture that will attract attention. Here’s a guide to creating a beautiful shiplap accent wall using barn walls or brick walls.
- Step 1: Choose the Right Wall. The first step is to choose the right wall for your accent feature. Look for a blank wall space or a wall with fewer obstacles that will be easier to work with and will look better as an accent wall. A wall with an interesting texture like a barn wall or a brick wall can add an extra layer of interest to your design scheme.
- Step 2: Prepare the Wall Surface. Preparing the wall surface is crucial to ensure that the shiplap will adhere properly. Begin by cleaning the entire area where you’ll be installing the shiplap. Check the wall surface for any damage like cracks or holes. If you find any, patch them up with spackling compound and sand them smooth.
- Step 3: Install the Shiplap. Next, it’s time to install the shiplap. For a secure installation of the boards, start at the bottom and use a finishing nail gun to fasten each board in place, making sure to nail into the wall studs. Take your time to ensure that the first row is level, as this will set the tone for the rest of the installation.
- Step 4: Finish the Project. Once you’ve installed all the shiplap boards, it’s time to finish the project. Adding a coat of paint can help incorporate the shiplap accent wall into your overall design scheme.
Conclusion
Installing shiplap siding is a great way to give your home a coastal look and feel. With careful planning and execution, it can be an easy and rewarding project. By following the steps outlined in this guide, you’ll be well-equipped to take on this task with confidence. So get out there and start your shiplap installation project today!