509-201-4190

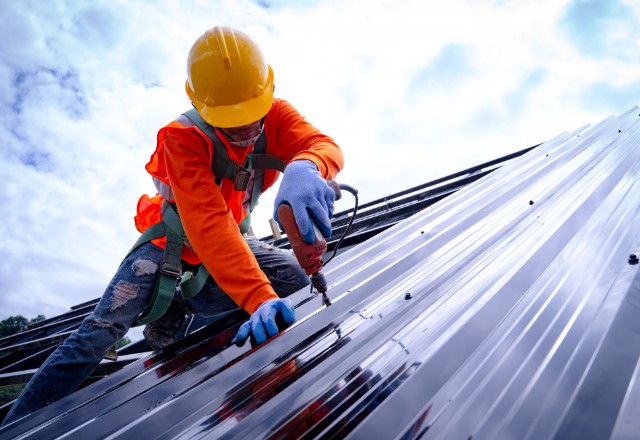
Installing metal roofing on plywood may seem like a daunting task, but with the right steps and materials, it can be easy. Whether you are a beginner in the home renovation and construction industry or simply want to learn more about this type of installation, this comprehensive guide will provide all the information necessary for effortless installation of metal roofing. From calculating the number of panels needed to installing ridge caps, this guide will walk you through each step of the process with clear instructions and helpful tips. So grab your tools and get ready to learn how to install metal roofing on plywood quickly and easily!
Disclaimer: This guide is intended to provide a general overview of installing metal roofing on plywood. We urge you to consult an experienced professional for any specific questions or concerns about your installation project. Furthermore, Advance Roofing LLC strongly recommends that you seek the assistance of our highly skilled team if you require any additional information or guidance. Addressing problems and issues correctly from the start will help to ensure a successful metal roofing installation on plywood. With many years of experience in the Spokane, WA area, Advance Roofing LLC has built a reputation for delivering top-notch quality and service when it comes to roofing solutions.
What is Metal Roofing?
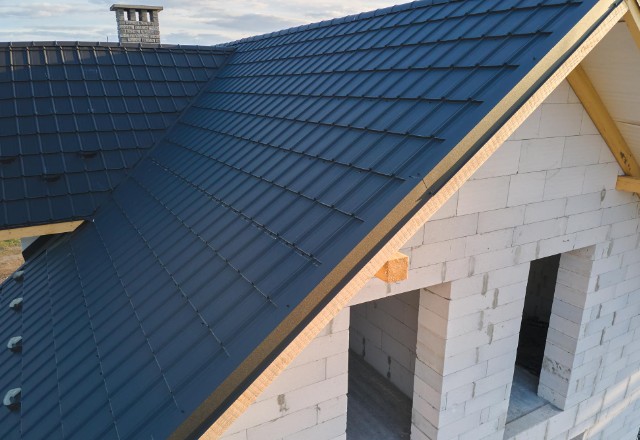
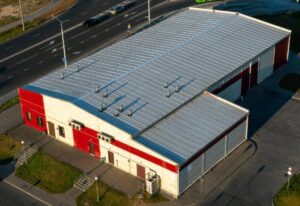
Metal roofing is a type of roofing material that consists of metal sheets or tiles. It is an increasingly popular choice for residential and commercial buildings due to its durability, energy efficiency, and aesthetic appeal. Metal roofing can last up to 50 years with proper maintenance and comes in a variety of materials such as aluminum, steel, zinc, copper, and more. It is also available in various colors and styles so you can customize the look of your building to match your style. Additionally, metal roofing helps improve energy efficiency by reflecting sunlight away from the building which reduces heat gain inside the home or office. This helps keep energy costs down while still providing superior protection against water damage, hail, wind, and other elements.
Metal roofing is a durable, energy-efficient, and stylish choice for residential and commercial buildings that can provide superior protection against the elements. With so many options available to customize the look of your building, it’s no wonder why metal roofing is becoming increasingly popular. But wait – there’s more! Discover the many benefits of installing metal roofs on plywood in the next section.
Benefits of Installing Metal Roofs on Plywood
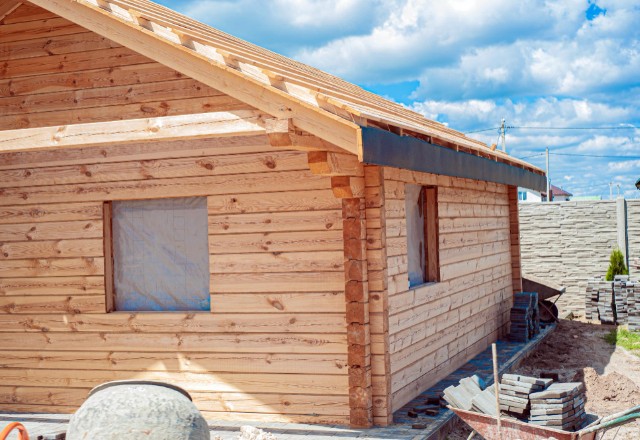
Installing metal roofs on plywood is an excellent choice for anyone looking to upgrade their roofing material. Plywood is a strong and durable wood that provides superior protection against water damage, hail, wind, and other elements. Additionally, the installation of metal roofs on plywood can add extra insulation to your building to help keep energy costs down while also improving its overall aesthetic. Metal roofing is available in a variety of colors and styles so you can customize the look of your building to match your style. It’s also very low maintenance and can last up to 50 years with proper care. Installing metal roofing on plywood will not only provide superior protection against the elements but it will also increase the value of your property and make it look great for many years to come!
Preparing for the Installation
Once you’ve decided to install metal roofing on plywood, there are a few steps you should take to ensure the installation process goes smoothly.
- First, make sure your plywood is in good condition and free of any cracks or rotting wood. You may also want to purchase extra pieces of plywood to use as reinforcements for the metal roofing.
- Next, measure the area where you’ll be installing the metal roofing so you can obtain accurate measurements for purchasing the correct materials.
- Finally, make sure all tools and equipment needed for installation are readily available before beginning the project. With proper preparation and planning, installing a metal roof on plywood can be an easy, stress free process.
With the right preparation and supplies, installing a metal roof on plywood can be a simple and satisfying home improvement project. Now that you know how to get started, stay tuned for more information about the materials needed for this job!
Materials Needed
Before you can begin installing metal roofing on plywood, there are a few materials you will need to gather. You’ll need self-tapping screws and panels of metal roofing that are compatible with the size of your plywood. Additionally, you may want to purchase adhesive tape designed specifically for metal roofs in order to create an airtight seal. Other materials such as caulking may also be used to ensure the metal roof is well secured and properly sealed against the elements. Lastly, it’s important to buy a rain diverter or gutter system so that rainfall is directed away from your home’s foundation. With all these supplies at hand, you’re ready to start installing your new metal roof!
Checking Your Roof Deck
Before beginning the installation of your metal roof, it is important to check the condition of your roof deck. This will help ensure that it is suitable for a metal roofing system and free from any rot or damage. Start by inspecting the plywood for signs of wear and tear such as cracks or soft spots. If you find any areas that need attention, repair them with screws or additional pieces of plywood before continuing with the installation process.
Additionally, make sure to check the rafters and joists for any signs of weakening which could cause problems down the road. With these steps out of the way, you can be sure that your roof deck is ready to support your new metal roof!
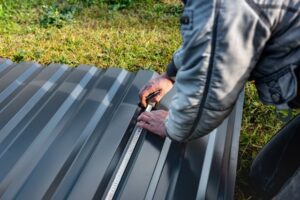
Calculating Number of Panels Needed

Accurately determining the required number of panels is vital for a successful installation of metal roofing.
- To begin, measure the length and width of your roof to determine its area in square feet.
- Then divide this number by the coverage area of one panel, which can vary depending on the type of metal roofing used. This will give you an approximate number of panels required to cover the area.
- Additionally, take into account any slopes or curves when measuring, as these may require additional panels and cuts to ensure a good fit.
- Finally, it’s also important to factor in a few extra panels just in case there are any mistakes during installation or if any pieces are damaged.
With these steps completed, you’ll be able to accurately calculate how many panels you need for your metal roofing project!
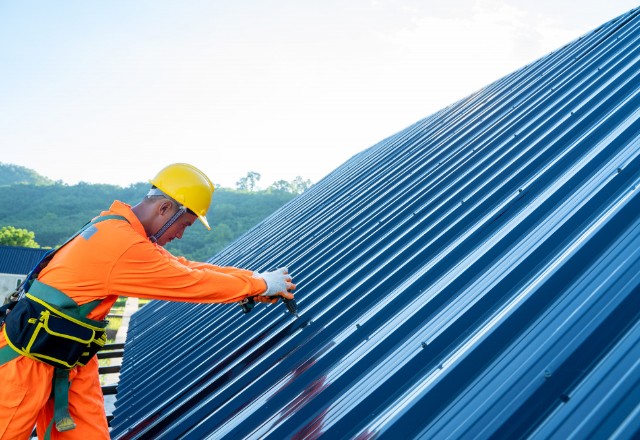
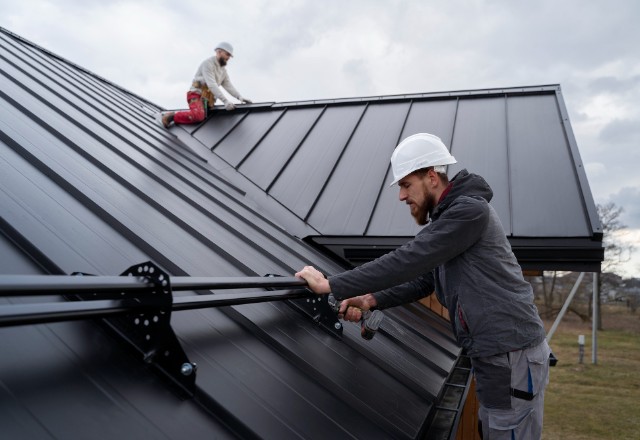
Installing the Metal Roofing
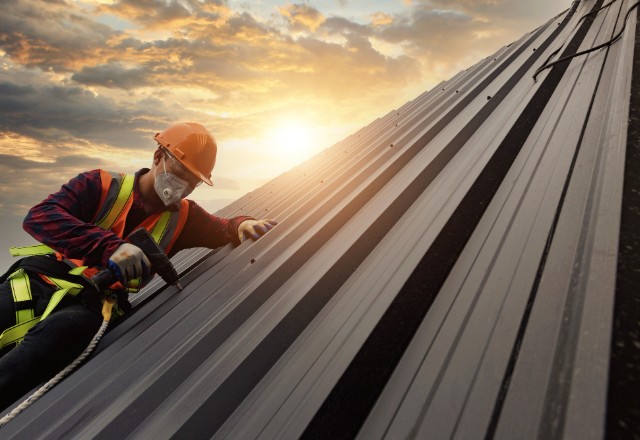
Proper installation of metal roofing requires attention to detail and careful execution.
- Start by laying out all of your panels on the plywood base in the pattern you want them in. Make sure to pre-drill holes for any screws that need to be used.
- Next, use either self-tapping screws or special metal roofing screws to attach your panels securely to the plywood.
- Be sure to leave a gap between each panel so that water can drain off the roof properly.
- Once you have all of your panels installed, use a sealant around any edges or seams where water could potentially seep through.
- Finally, apply a protective coating such as paint or stain to help protect your new metal roof from weather and wear-and-tear over time.
With these steps completed, you’ll have a strong and durable metal roof that will last for many years to come!
With your new metal roof securely installed, you can now enjoy the peace of mind that comes with knowing that your home is well protected from the elements. Now let’s move on to Step 1: Securing the Outer Edge of the Roof Deck – a crucial step in ensuring a long lasting and reliable roof!
Step 1: Securing the Outer Edge of the Roof Deck
The first step in any metal roof installation is securing the outer edge of the roof deck. This is especially important as it provides a solid foundation and prevents your roof from becoming wobbly or shifting over time. To begin, you’ll need to measure and cut the appropriate length of flashing for each section of your roof deck. Flashing helps create a watertight barrier between the plywood surface and other materials on top of it, such as shingles or tiles. Once you have all the necessary pieces cut, use nails or screws to fasten them securely along the outer edge of your plywood base. Be sure to check that these pieces are flush with your plywood so that there are no gaps or openings where water can enter. With this step complete, you’re now ready to move on to installing your metal panels!
Step 2: Attaching the Underlayment and Felt Paper
Once the outer edge of your roof deck is secure, it’s time to attach the underlayment and felt paper. Begin by unrolling the underlayment across the width of your roof deck and use a staple gun or nails to fasten it in place. Make sure that all edges are overlapping and there are no gaps between pieces. Once you have completed this step, you can then lay down the felt paper over top of the underlayment. This will help protect your metal panels from water damage and provide an additional layer of insulation. Once this is done, make sure to check for any rips or tears in both pieces before moving on to the next step: installing your metal roofing panels!
Step 3: Putting in the Starter Row
Once the starter row of metal roofing panels is in place, it’s time to begin putting in the rest of your metal roof. To start, measure and cut the edge pieces of your starter row to fit the shape of your roof deck, taking into account any angles or curves. Begin by nailing one side of the panel onto the edge piece and then move onto the other side, making sure to use screws that are specifically designed for this type of roofing material. After you have successfully attached both sides, slide each panel into place along the length of your roof deck and secure them with additional screws. It’s important to make sure that all panels are level and have no gaps between them before moving on to the next step!
Step 4: Installing the Main Panels
Once you have successfully installed the starter row, it’s time to begin installing the main panels.
- Start by measuring and cutting the main panels to fit the shape of your roof deck, taking into account any angles or curves.
- Then, begin nailing one side of the panel onto the edge piece and then move onto the other side, making sure to use screws that are specifically designed for this type of roofing material.
- Once both sides are secure, slide each panel into place along the length of your roof deck and secure them with additional screws.
- Make sure that all panels are level and have no gaps between them before moving on to the next step!
- Finally, install a ridge cap at the top of your roof for extra protection against rain and wind.
- This will help ensure that your metal roof remains in good condition for years to come!
Step 5: Joining Seams and Ridge Caps
Once the main panels are securely installed, it’s time to move on to joining seams and ridge caps. Begin by laying a bead of sealant along the top edge of each panel and then join them together with a metal seam clip. Make sure to press firmly onto the clip to ensure proper adhesive coverage. Additionally, use a rubber mallet or hammer with a cloth sheet between it and the metal paneling in order to avoid damaging the panels while you secure them together. Once all of your seam clips are in place, install ridge caps along the peak of your roof in order to further protect your metal roof from rain and wind damage. Start by applying sealant along one side of each cap, securing it with screws that are specifically designed for this type of roofing material. Repeat this process until all ridge caps are securely installed!
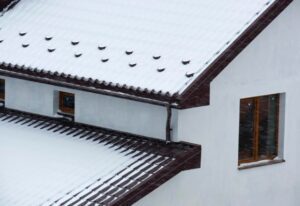
Tips for Installing in Northern Climates
Northern climates can present unique challenges for roofing installation due to the greater snow loads, higher winds, and colder temperatures. To ensure a successful installation, here are some tips to keep in mind:
- Choose the right materials. In northern climates, metal roofing is often the most cost-effective choice because it’s more durable and able to withstand extreme temperatures. Make sure you also choose roofing screws that are specifically designed for metal roofing in order to prevent corrosion over time.
- Secure the panels properly. It’s important to make sure all panels are securely fastened with appropriate screws and clips, as high winds can cause them to come loose if not properly secured. Additionally, be sure to check for any gaps between panels and seal them with a compatible sealant or tape in order to prevent water from entering your home or building through these spaces.
- Install additional protection. In northern climates, it’s essential to have additional protection from snow and ice buildup by installing snow guards or gutter helmets along the edge of your roof. This will help reduce damage from heavy snowfall as well as stop large chunks of ice from sliding off and potentially harming anyone below.
By following these tips and choosing the right materials, you can ensure your roofing installation is successful even in northern climates. With the right insulation requirements, you can complete the job and be confident that your roof will remain safe and secure all year round.
Insulation Requirements
When it comes to proper insulation requirements for metal roofing in northern climates, there are a few things to consider.
First, you’ll want to make sure the insulation is thick enough to provide adequate protection from extreme temperatures and snow.
Secondly, be sure to choose insulation that is specifically designed for metal roofing as some materials can cause corrosion over time.
Finally, make sure all seams, gaps and joints are sealed tightly with compatible caulk or tape in order to prevent any potential water damage.
By following these guidelines and choosing the right insulation material, you can ensure your roofing installation is successful even in northern climates. This will ensure your home or building remains comfortable while also providing protection from any extreme weather conditions you may encounter during the year.
Snow Guard Placement
Snow guards are a crucial component to installing metal roofing, as they help to prevent large amounts of snow and ice from sliding off the roof and causing damage or injury. Proper placement is key in order to get the most out of these guards. Generally speaking, it’s best to install them directly onto the metal panels rather than on top of the shingles or other materials. Be sure to follow manufacturer instructions when installing as well, as they will provide specific guidance based on your particular roof type.
When installing snow guards, always keep in mind any potential obstructions such as gutters or vents that may be nearby. Additionally, take into account the direction of prevailing winds in order to ensure the guards are securely fastened and not at risk for blowing away with strong gusts. Lastly, make sure all screws used for installation are compatible with your roofing material in order to avoid potential corrosion over time.
By following these basic tips and using high-quality hardware, you can be confident that your snow guard installation will last for years to come while providing protection against dangerous conditions during colder months.
Conclusion
Installing metal roofing on plywood is a relatively straightforward process that anyone can do with the right materials and instructions. From properly measuring and cutting your panels, to installing snow guards and flashing, the steps are easy to follow and can help you create a beautiful, long-lasting roof for your home. With some patience and effort, you’ll be able to confidently complete this project in no time! As always, if you have any questions or concerns along the way it’s best to consult a professional roofer as they will be able to provide personalized advice based on your particular roof type.