Installing a corrugated metal roof can be a great way to add style and protection to any home or commercial building. But before the roof can be installed, the corrugated metal must be cut to fit. Cutting corrugated metal roofing may seem like a daunting task, but it doesn’t have to be! With the right tools and techniques, anyone can achieve professional looking results with minimal effort. This guide will walk you through each step of the process, from choosing the right blades for your angle grinder and prepping for cutting to finishing up after you’re done. So if you want an easy guide for getting perfect results when cutting corrugated metal roofing, this is the ultimate guide for you!
Disclaimer: This article contains general information about cutting corrugated metal roofing and should not be used as a substitute for professional advice. If you are uncertain about any of the steps described in this article, we recommend that you contact an expert from Advance Roofing LLC (advanceroofingllc.com). We are always happy to help! For complete peace of mind when it comes to your roofing needs, Advance Roofing LLC has proudly served the Spokane, WA area with superior quality roofing services for many years.
What is Corrugated Metal Roofing?
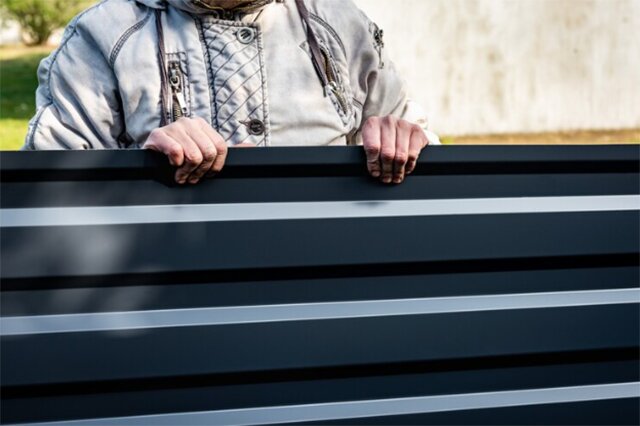
Corrugated metal roofing is a popular and cost-effective choice for many homes and commercial buildings. It is made up of a series of curved panels that interlock to create a strong, weatherproof surface. This type of roofing is lightweight, durable, and requires minimal maintenance. It also comes in a variety of colors and styles, so you can easily find the perfect look for your home or business. Corrugated metal roofs are known for their energy efficiency due to their ability to reflect heat away from the building in hot climates, as well as their ability to retain warmth during colder months. With its long life span and low cost, corrugated metal roofing is an excellent choice for anyone looking for quality protection at an affordable price.
Corrugated metal roofing is an ideal choice for anyone looking to add quality protection and beauty to their home or business. With its many benefits, it’s no wonder it continues to be such a popular option. But what exactly are the benefits of corrugated metal roofing? Read on to find out!
Benefits of Corrugated Metal Roofing
Corrugated metal roofing is an excellent choice for anyone looking to add quality protection and beauty to their home or business. Its many benefits make it a popular option, including its long life span, affordability, low maintenance needs, and energy efficiency. Corrugated metal roofs are known for their ability to reflect heat away from the building in hot climates, as well as their ability to retain warmth during colder months.
These qualities make them a great choice for those who want to save money on energy costs. Additionally, corrugated metal roofing comes in a variety of colors and styles so you can easily find the perfect look for your home or business. With all these benefits combined, it’s no wonder corrugated metal roofing remains such a popular choice!
Corrugated metal roofing is a great option for those looking to add beauty, protection and energy efficiency to their home or business. With its many benefits, it’s no surprise that this type of roofing is becoming increasingly popular. Now that you know all the advantages corrugated metal roofing has to offer, all you need are the right tools to get started! Stay tuned for our next section on what tools you’ll need to cut your new corrugated metal roofing.
The Necessary Tools for Cutting Corrugated Metal Roofing
Now that you’ve become familiar with the many benefits of corrugated metal roofing, it’s time to get started on cutting and installing your new roof. To ensure a professional look and long-lasting results, you will need a few essential tools for the job.
- First and foremost, you’ll need safety gear such as safety glasses or goggles, gloves, dust mask and hard hat. Make sure to use these at all times while working with the corrugated metal roofing.
- A circular saw is also necessary to make precise cuts in the metal sheets.
- You may also want to invest in a jigsaw if you plan on making curved cuts.
- Other important tools include tin snips for trimming around windows and doors, drills for fastening screws into place, utility knife for cutting through shingles or sealants, chalk line for marking straight lines on the metal sheets, and an aluminum brake for making bends in the panels.
With all these tools in hand you’ll be ready to take on any project!
Now that you’ve got the tools and safety gear, you’re ready to tackle your corrugated metal roofing project! With a few simple steps, you’ll be able to give your home an amazing new look. But if you want to take it one step further, why not try using an angle grinder? Find out how this tool can help make your installation even easier in the next section!
Angle Grinder
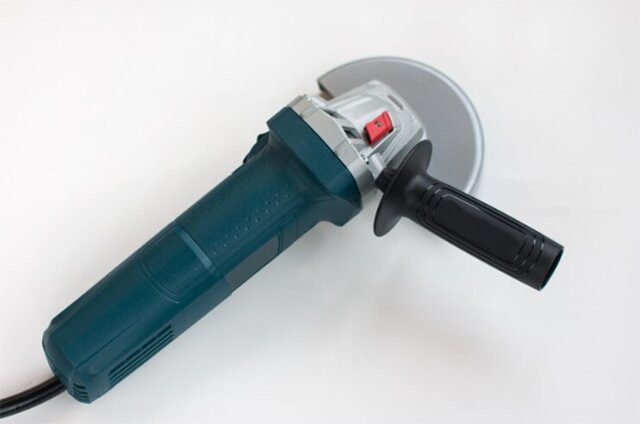
If you’re looking to take your corrugated metal roofing installation to the next level, an angle grinder is a great tool to have on hand. It can help make precise and clean cuts in the metal sheets with ease. Plus, it can also be used for drilling holes and trimming around windows and doors. For best results, make sure to get an angle grinder that is specifically designed for cutting metal. This type of grinder will have a diamond blade that will provide excellent performance when cutting through corrugated sheets. Make sure to wear safety gear like safety glasses or goggles and gloves when using the angle grinder.
With these steps in mind, you’ll be well on your way to achieving professional results with your corrugated metal roofing project!
Power Tools
Power tools can make any project faster and easier. Whether you’re a professional contractor or a weekend warrior, power tools can help you get the job done quickly and efficiently. When choosing the right power tools for your project, it’s important to consider both the type of material you’re working with and the size of your project. For larger projects, corded power tools are generally more powerful and reliable than their cordless counterparts. For smaller jobs, however, a cordless tool may be more convenient. Safety is also paramount when using power tools – always make sure to wear safety glasses, gloves, and appropriate clothing when operating any kind of machinery! With the right knowledge and safety practices, you can be sure that your next construction project will be completed quickly and safely with power tools.
Tin Snips
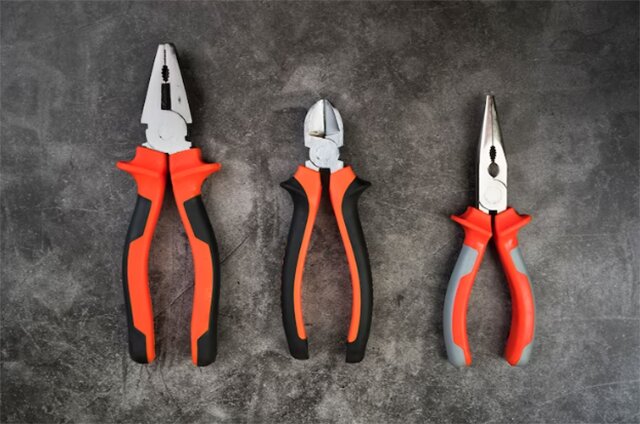
Tin snips are a must-have tool when it comes to cutting corrugated metal roofing. Because the material is so thin and hard to cut through, ordinary scissors just won’t do the job. Tin snips are designed specifically for cutting through metal and can make quick work of any project. To use tin snips, simply line up the edge of the sheet with the blade and press down firmly but gently. The sharper the blades on your tin snips, the easier it will be to get a clean cut without any jagged edges. For best results, always remember to wear gloves and safety glasses when using any kind of power tools or machinery. With a little practice, you’ll soon be able to create professional-looking cuts in no time!
Sheet Metal Shears or Green Snip
Sheet metal shears, also known as Green Snip, are a great tool for cutting corrugated metal roofing. Unlike tin snips, these shears can make long cuts in a single stroke and create curves in the material. This makes them perfect for trimming the edges of your
roof or creating decorative accents. They are easy to use; simply line up the edge of the sheet with one blade and press down firmly but gently. With a little practice, you’ll soon be able to produce professional-looking results that will have your neighbors asking about your handy work! As with any power tools, it’s important to wear gloves and safety glasses when using sheet metal shears. With the right tools, you’ll have no trouble creating custom pieces of corrugated metal roofing that will add character to your home!
Tape Measure
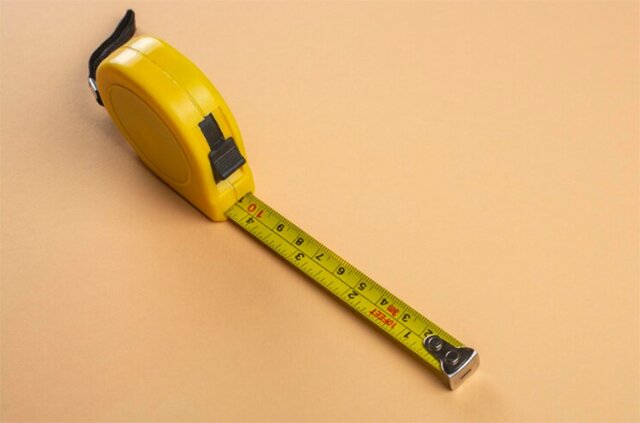
A tape measure is an essential tool for any DIYer or professional looking to tackle a project involving corrugated metal roofing. With this versatile tool, you’ll be able to quickly and accurately measure the length of pieces as well as make sure they fit correctly in place. Make sure to get a steel tape measure that is at least 25 feet long with markings in both inches and centimeters. When measuring, be sure to keep the blade tight against the surface of the roofing so you can get an accurate reading. It’s also important to start your measurement from the end of the blade so you don’t miss out on any extra space. With a tape measure by your side, you’ll have all the measurements you need for cutting corrugated metal roofing like a pro!
Preparing to Cut the Corrugated Metal Roofing
Before you start cutting corrugated metal roofing, it’s important to take some time to prepare. First, make sure you have all the necessary tools and materials on hand. This includes a tape measure, chalk line, safety glasses and gloves, tin snips, clamps, and a utility knife. Once everything is in place, you’ll need to use your tape measure to accurately measure out the length of the pieces you plan on cutting. Then using a chalk line or marker, draw an outline of where each piece should be cut. This will help ensure that each piece fits together perfectly when installed. Finally, make sure to wear the necessary safety gear while working with the metal roofing so you can stay protected from any potential hazards. With these steps complete you’re ready to start cutting corrugated metal roofing like a pro!
Cutting corrugated metal roofing doesn’t have to be a daunting task! With the proper preparation and tools, you can easily achieve professional results. Now that you’re ready to start, mark the area to be cut with a pencil or chalk line for even more accuracy — coming up next!
Mark the Area to be Cut with a Pencil or Chalk Line
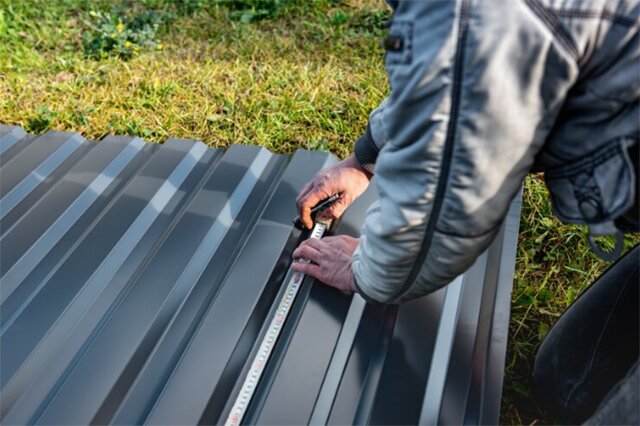
When cutting corrugated metal roofing, marking the area to be cut with a pencil or chalk line is a crucial step for achieving professional results, regardless of skill level. This ensures that each piece fits together perfectly when installed. To do this, simply use a tape measure to accurately measure out the length of the pieces you plan on cutting, then use a chalk line or marker to draw an outline of where each piece should be cut. If you prefer using a pencil, make sure it is sharpened and easy to erase in case you need to make adjustments or changes. Taking the time to mark the area will help ensure that everything lines up correctly when it’s time for installation. With these steps complete and all your tools ready, you can now start cutting corrugated metal roofing confidently!
Wear Proper Safety Equipment (Gloves, Safety Goggles/Glasses)
Safety is always paramount when it comes to any kind of DIY project involving tools and materials, and that includes cutting corrugated metal roofing. To ensure you are protected from potential hazards, be sure to wear the proper safety equipment such as gloves, safety goggles or glasses. This will help protect your hands from sharp edges and dirt, while also protecting your eyes from flying debris. Additionally, wearing thick clothing can also provide additional protection against small pieces of metal that may escape during the cutting process. Taking these precautions will not only help keep you safe, but also make sure that you get professional-looking results when cutting corrugated metal roofing.
Cutting the Corrugated Metal Roofing
Efficient completion of cutting corrugated metal roofing requires proper tools and technique. Before beginning the process, make sure to wear proper safety equipment such as gloves, safety glasses or goggles, and even thick clothing to protect yourself from any flying debris. Additionally, ensure that you have the proper tools for cutting corrugated metal roofing which includes snips or tin snips, a nibbler tool or reciprocating saw.
Once you’ve gathered all of your supplies, begin by marking out the area where you plan on cutting. Make sure that your measurements are accurate to avoid any potential mistakes! Once you have marked out the area to be cut, use either snips or a nibbler tool
to make your cuts. If using a reciprocating saw, remember to use slow steady strokes and have multiple blades ready in case one breaks while in use. When finished with the cutting process, clean up any extra pieces of metal left behind and inspect your work for accuracy.
With these steps in mind, you will be able to successfully cut corrugated metal roofing with professional-looking results!
Cutting corrugated metal roofing can be an intimidating task, but with the right tools and techniques it is possible to achieve great results! Now that you know how to safely and effectively cut your roofing, it’s time to learn how to determine which type of blade will work best on your angle grinder. Stay tuned for our next section as we cover Step 1: Determine which Type of Blade to Use on the Angle Grinder.
Step 1: Determine which Type of Blade to Use on the Angle Grinder
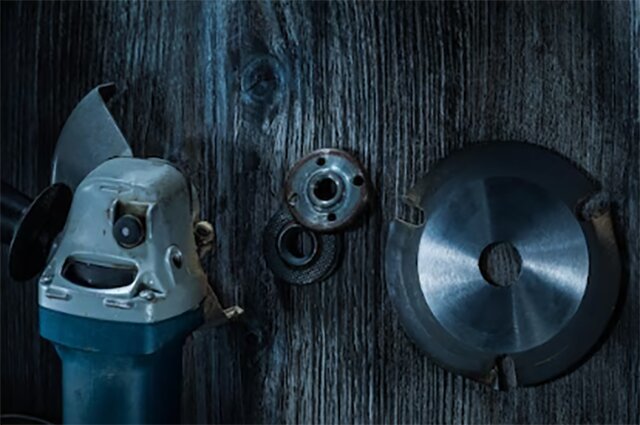
Choosing the right blade for your angle grinder is an important step when it comes to cutting corrugated metal roofing. While there are a variety of blades available, the best type for this task is a ferrous-metal cutting blade. This type of blade has small teeth which help to cut through the metal quickly and accurately. Additionally, these blades can be used on both straight and curved pieces of metal. When selecting a ferrous-metal cutting blade, make sure to look for one with a higher tooth count as this will ensure that you get smooth, precise cuts each time. Finally, keep in mind that the size of the blade should match the size of the angle grinder so that it fits securely in place during use. With these tips in mind, you’ll be able to select the perfect blade for your angle grinder and get professional results every time!
Step 2: Prepare the Area for Cutting and Secure the Sheet of Metal in Place
Once you have chosen the right blade for your angle grinder, the next step is to prepare the area for cutting and secure the sheet of metal in place. To do this, make sure that you have a flat, stable surface on which to work. This can be a workbench or even a large piece of plywood. Additionally, you’ll want to ensure that there is good lighting in the area so that you can easily see what you are doing. Once these preparations are made, use clamps or weights to hold down the sheet of metal securely while you cut it with an angle grinder. This will help to minimize any vibrations or movement during cutting and reduce the risk of injury. With these steps completed, you’re ready to begin cutting your corrugated metal roofing!
Step 3: Begin Cutting Downwards in a Smooth Motion Along the Marked Line
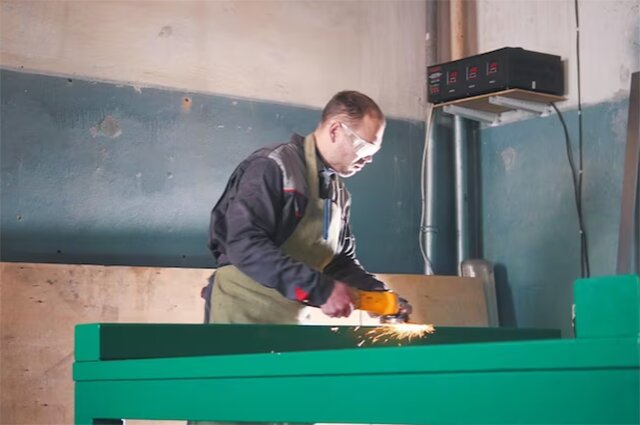
Now that you have your area prepped and the sheet of metal secured in place, it’s time to begin cutting. First, make sure that you are wearing safety goggles and a face mask to protect yourself from any sparks generated by the angle grinder. Start at one end of the marked line and make sure to hold the angle grinder firmly with both hands. Begin cutting downwards in a smooth motion along the marked line using steady pressure on the grinder. To make sure that you get an even cut, try to keep your hand as still as possible while pressing down on the grinder in a consistent manner. After each pass, move your hand slightly down along the marked line until you have reached the other end of it. Once you have finished cutting, gently remove any debris from around your work area and enjoy your perfectly cut corrugated metal roofing!
Finishing up After Cutting
Once you have finished cutting, it’s time to finish up the job. Begin by gently removing any debris from around the work area with a soft brush or vacuum. After cleaning up, inspect your cut line and make sure that it is even and smooth. If there are any areas that need to be touched up, use a file or sander to smooth them out. Finally, once you are satisfied with your work, apply an appropriate sealant or paint over the cut edge of the metal roofing to protect it from rust or damage in the future. With some patience and practice, you can create a professional-looking cut corrugated metal roofing in no time!
With the right tools and a bit of practice, cutting corrugated metal roofing can be an easy and rewarding task. Now that you’ve got the basics down, it’s time to finish up with a professional touch. Stay tuned for our next section on how to properly install your cut pieces for the best results!
Conclusion
Cutting corrugated metal roofing can be a difficult job, but with the right tools and a bit of patience, you can create a professional-looking result. The key is to take your time and follow the steps outlined in this guide for success. From cutting and finishing up the edges to properly installing your cut pieces, there are many essential steps that must be taken to ensure a long-lasting result. With practice and dedication, you can master the art of cutting corrugated metal roofing in no time!


 509-201-4190
