509-201-4190

Welcome to the world of home renovations! Are you looking for an easy way to restore your home’s beauty and increase its value? Repair this siding can be a great option for many homeowners. It is not only one of the most popular materials used in residential construction, but it’s also durable enough to last for years. In this article, we will provide you with simple steps on how to repair this siding so that your home looks as good as new again. With a bit of care and attention, you’ll be able to give your house a brand-new look while increasing its value at the same time. Let’s get started!
Disclaimer: This article is for informational and educational purposes only. We recommend consulting a professional contractor or other expert before attempting any repairs on your cedar siding. While the steps outlined in this article may help you restore the beauty of your home, they may not be suitable for everyone depending on the age, condition and type of siding that you have. Furthermore, any repair or restoration work should always be done by a qualified professional to ensure it’s done safely and correctly. For more information about this topic or to obtain advice from qualified professionals! Advance Roofing LLC has been proudly serving Spokane and the surrounding area with top quality roofing solutions and unsurpassed customer service.
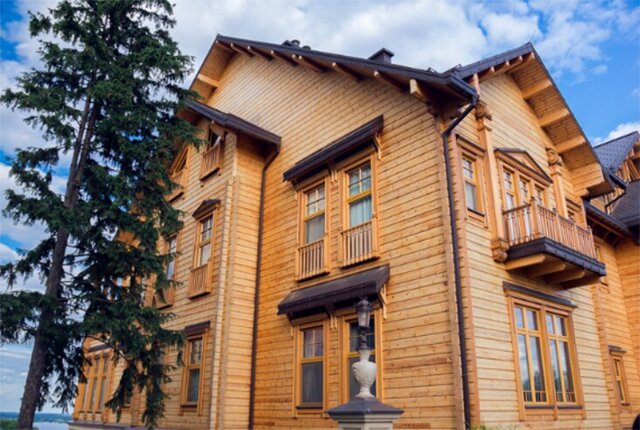
What is Cedar Siding?
Cedar siding is a commonly selected option by homeowners because of its appealing appearance and lasting strength. It is composed of cedar wood, which is recognized for its ability to endure weather conditions and resist insect damage. This siding comes in a wide variety of textures and styles, including cedar shake siding and cedar boards. This type of siding is often a preferred option for its minimal maintenance requirements and ease of maintenance when done properly. However, like all types of wood siding, cedar siding requires regular maintenance to prevent future and insect damage and structural damage. In this article, we will provide a step-by-step guide to restoring the natural beauty of your cedar siding through proper cedar siding repair techniques.
Benefits of Cedar Siding
Cedar siding is a popular choice among homeowners due to its many positive attributes. One of the most significant benefits of this siding is its long life expectancy. With proper maintenance, this siding can last for many years, making it a cost-effective choice for homeowners.
Another advantage of cedar siding is its natural insulation quality. Cedar is an excellent insulator, helping to keep your home warm in the winter and cool in the summer. This can lead to reduced energy bills and increased comfort for you and your family.
In addition to its insulation qualities, this siding is highly durable. It can withstand a wide variety of weather conditions, making it an ideal choice for use in areas with harsh weather conditions. Compared to other siding materials, cedar siding is less likely to warp, crack or rot.
Cedar siding can also increase the value of your property. Homebuyers often look for homes with natural wood siding, and cedar is a popular option due to its durability and timeless appearance.
While some homeowners may be put off by the natural color of cedar siding, it is important to note that over time, siding will weather and develop a unique color, further enhancing its beauty.
Preparation for Repairing Your Cedar Siding
Before you can begin repairing your cedar siding, it’s crucial to properly prepare the wood surface. This includes identifying and addressing any moisture damage, insect infestations, or structural issues that may have caused the damage in the first place. It’s also important to assess the extent of the damage to determine the scope of repairs needed. With proper preparation, you can ensure that the repair process goes smoothly and that your siding is restored to its natural beauty.
Determine the Extent of Damage
Cedar siding is known for its natural beauty and durability, but even the strongest this siding can be vulnerable to damage from moisture, insects, and weathering. To restore your home’s beauty, it’s important to first determine the extent of damage to your cedar siding. Follow these simple steps to inspect cedar siding and identify the damage:
- The first step in repairing your cedar siding is to inspect it for damage. Check around doors, windows, and corner moldings for signs of moisture or water infiltration. Look for cracks, holes, and peeling paint or discoloration that may indicate insect damage or weathering.
- Once you have identified the damage to your cedar siding, it’s important to describe it in detail. This will help you determine what type of siding you need to replace the damaged boards. Take note of the location and size of the damaged area, as well as the severity of the damage.
- Cedar siding comes in a variety of types, including cedar wood siding, cedar shake siding, and cedar boards. Knowing the type of cedar siding you have will help you choose the right replacement material for your siding project. It’s also important to note that there are other siding materials available, such as fiber cement siding and James Hardie siding.
- Once you have determined the extent of the damage and the type of siding you need, it’s time to take action to repair the damage. This may involve replacing damaged boards, using solid stains or exterior stains to protect the remaining cedar siding, or applying a protective finish to the entire deck.
Gather Tools and Materials Needed for Repairing
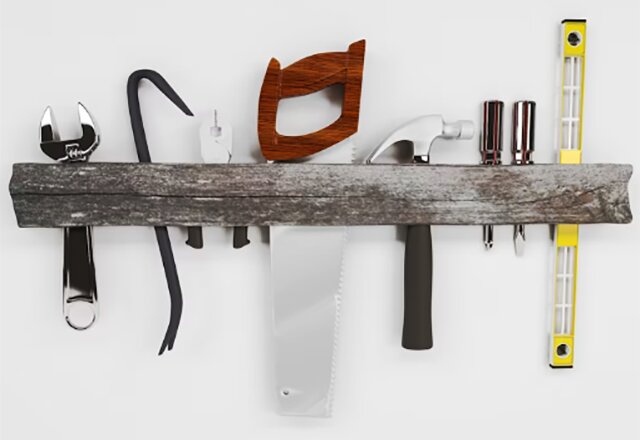
To repair cedar siding, you will need certain tools and materials. Having the right tools and materials can make the repairing process easier and more efficient. Therefore, it is important to gather all the necessary tools and materials before starting the repair work.
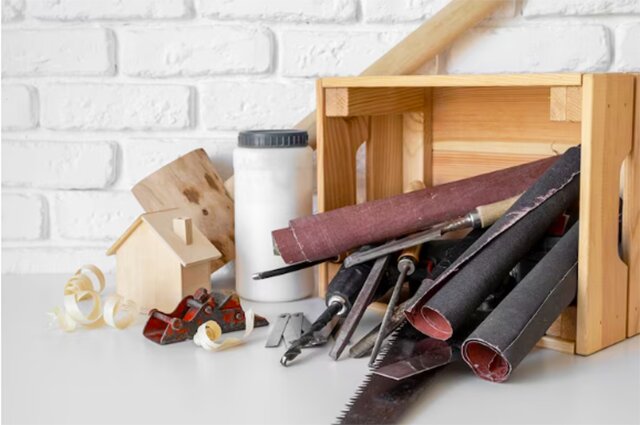
Tools required for repairing this siding include a pry bar, hammer, circular saw, table saw, power drill, drill bits, handsaw, caulk gun, utility knife, measuring tape, and safety goggles. These tools will help you in removing the damaged wood and replacing it with new cedar boards. You will also need to use a table saw to cut the cedar boards to the required size.
In addition to the tools, you will also need materials such as new cedar boards, paint or stain, primer, replacement nails or screws, wood glue, and caulk. The new cedar boards will be used to replace the damaged siding. The paint or stain will help in protecting the cedar siding from weathering and insect damage. Primer is needed to prepare the surface before applying paint or stain. Replacement nails or screws will help in fixing the new cedar boards. Wood glue is needed to glue the new cedar boards with the existing siding. Caulk is needed to fill the gaps between the siding and trim.
When repairing your cedar siding, it is essential to wear protective gear to avoid any injury or harm. This includes gloves, a face mask, and goggles. Gloves will protect your hands from splinters, rough surfaces, and chemicals from paint or primer. Wearing a face mask can prevent inhalation of dust and chemicals while sanding and painting, while goggles can protect the eyes from debris and paint dust.
Prepare the Area Around the Damage
Before beginning the repair process, it is crucial to prepare the area around the damage. This step is important to ensure that the repair work is efficient and long-lasting. Preparing the area involves removing any loose debris or materials that may interfere with the repair process and cause future damage to the cedar siding.
To prepare the area, start by inspecting the damaged section of the cedar siding. Look for any loose siding, paint, or debris that must be removed before repairing the siding. You can use a putty knife or scraper to scrape away any loose materials that may have accumulated around the damaged area.
Next, if there are any nails or screws in the area, remove them carefully using a pry bar or a screwdriver. Removing nails or screws is important to avoid causing any additional damage while fixing the cedar siding. Carefully remove any nails or screws, keeping them aside for later use if they are still in good condition.
It is important to note that preparing the area around the damage is not a step to be skipped or ignored, as it is essential to achieve a high-quality cedar siding repair.
Steps to Clean and Repair Your Cedar Siding
Cedar siding is a commonly chosen option by homeowners because of its attractive appearance and lasting strength. Nevertheless, as time goes by, this siding can deteriorate and sustain damage from exposure to weather conditions. To restore your home’s beauty, it is important to clean and repair your siding. In this article, we will provide you with simple steps to help you clean and repair your siding, ensuring that it looks great for many years to come.
Step 1: Pressure Wash the Damaged Area with Warm Water and Detergent
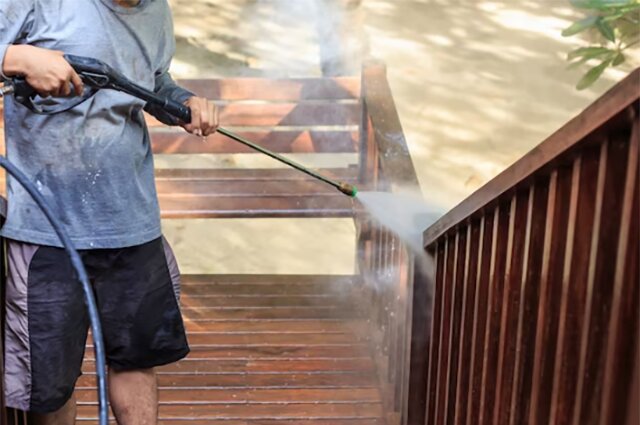
Cedar siding can be a beautiful addition to any home, but it requires maintenance to keep it looking its best. One important step in repairing cedar siding is to pressure wash the damaged area before making any repairs.
Before beginning, it’s important to prepare the pressure washer and the mixture of warm water and detergent for cleaning the affected area. Make sure to wear the necessary safety gear, including goggles, gloves, and protective clothing, as concentrated chemicals can be dangerous.
To pressure wash the damaged area, start by pointing the nozzle of the pressure washer at a spot a few feet away from the siding. Move the nozzle towards the damaged area, going in the same direction as the wood grain to avoid damaging the surface. Work in small sections, applying the warm water and detergent mixture to the area and letting it sit for a minute or two before continuing to pressure wash.
Pressure washing can help remove dirt, grime, and other contaminants from the surface of the siding, which can help with the adhesion of any repairs made to the damaged area. It’s important to pressure wash carefully, however, to avoid causing more damage to the already vulnerable cedar siding.
By taking the time to pressure wash the damaged area with warm water and detergent, you can ensure that your repair efforts will be effective and long-lasting. So, before embarking on any cedar siding repair project, make sure to start with a thorough pressure washing of the damaged area.
Step 2: Scrape Away Loose Paint or Weathered Wood from the Damaged Area
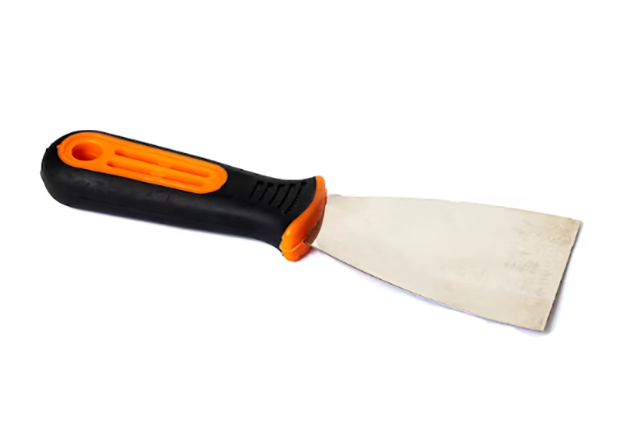
Before you can repair the damaged cedar siding, it’s important to prepare the area by scraping away any loose paint or weathered wood. This will help ensure that the repair process is effective and long-lasting.
To begin, you will need a putty knife or scraper to carefully remove any loose or peeling paint from the damaged area. Using gentle pressure, work the scraper under the loose paint and lift it away from the surface of the wood. Be sure to work slowly and methodically to avoid damaging the surrounding wood.
Once you have removed the loose paint, it’s time to remove any weathered wood fibers from the surface of the siding. Use a stiff-bristled brush or wire brush to gently scrub the surface of the wood, removing any dirt, debris, or weathered wood fibers. Be careful not to apply too much pressure or scrub too vigorously, as this can damage the surrounding wood.
Step 3: Sand the Damaged Area Smoothly and Evenly Using Sandpaper or a Sander
After you’ve prepared the damaged area by removing loose paint and weathered wood fibers, it’s time to shape the area by sanding it smoothly and evenly. Sanding can help to create a uniform surface that is free from gouges or rough spots, which is important for achieving a flawless cedar siding repair.
To sand the damaged area, you will need sandpaper or a sander. Start by using a coarse grit sandpaper, such as 60-grit, to remove any remaining loose paint or rough wood fibers. While sanding, be sure to move the sandpaper in the direction of the grain to avoid scratches or gouges. Use gentle, even pressure when sanding to avoid damaging the surrounding wood.
Once you’ve removed the rough texture from the damaged area, switch to a finer-grit sandpaper, such as 120-grit, and repeat the process. Continue to use progressively finer grit sandpaper until the surface is completely smooth, free of rough patches, and even with the surrounding wood.
If you prefer, you can also use a palm sander to smooth out the damaged area. A palm sander is a small, hand-held machine that uses a sandpaper pad to smooth wood surfaces. Using a palm sander can make the sanding process faster and more efficient, especially if you need to sand a large area.
Avoid using a drum sander, as this type of sander is better suited for interior wood floors and can easily gouge cedar wood siding. Instead, stick to using sandpaper or a palm sander, which are better suited to cedar siding repair.
By sanding the damaged area smoothly and evenly, you’ll create a seamless surface that is ready for further repairs or application of a protective finish.
Step 4: Apply Primer, Paint, or Stain to Match Original Color/Finish of Cedar Siding
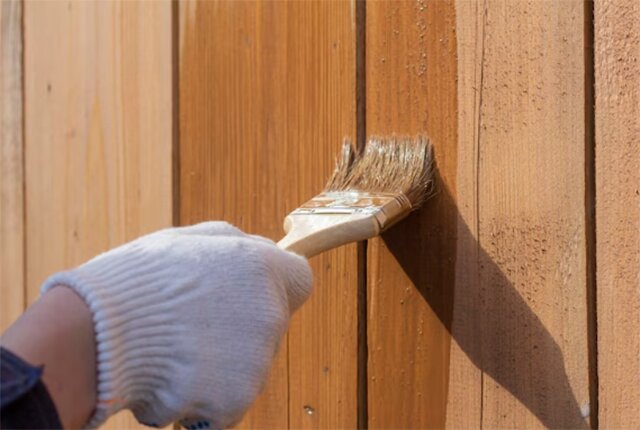
Once you have prepared the damaged area by sanding it smoothly and evenly, it’s time to apply primer, paint, or stain to match the original color and finish of your cedar siding. The choice of primer, paint, or stain will depend on the age of the siding and the level of restoration required.
For weathered cedar siding, sanding is a good way to prepare the surface. However, if the damage is more extensive, primer may be necessary to ensure that the new layer of paint or stain adheres properly to the wood. First, determine whether your cedar siding needs primer depending on the age of the siding.
If you decide to apply primer, choose a high-quality oil-based primer that is specifically designed for use on cedar wood siding. This will help to seal the wood, prevent future damage, and create a smooth and even surface for the paint or stain to adhere to. Apply the primer in thin, even coats with a brush or roller, working in the direction of the wood grain. Allow each coat to dry completely before applying the next coat.
On the other hand, if you want to restore the natural beauty of your cedar wood siding while maintaining its texture and grain, then staining may be the best option for you. When choosing a stain, make sure that it has a high pigment concentration to ensure that the cedar pores can soak it up easily. Also, select a color that matches the original color of your cedar siding or complements the color of your house.
When applying the stain, work with the direction of the grain and use multiple thin coats to achieve an even finish. To ensure even application and prevent streaking, use a brush or roller when applying the stain. It is important to adhere to the drying times and coverage rates specified by the manufacturer.
If painting is your preferred option, select a high-quality acrylic paint or solid stain that is specifically formulated for use on cedar wood siding. Before applying the paint, primer may be necessary to ensure that the new layer of paint adheres properly to the wood. Follow the same process for primer application as mentioned earlier.
When applying the paint, work in the direction of the wood grain using multiple thin coats to achieve an even finish. It is important to wait for each coat to fully dry before applying the next one, while also adhering to the drying times and coverage rates recommended by the manufacturer.
By following these best practices, you can restore your cedar siding’s original color and finish while ensuring that it remains protected against future damage.
Additional Tips to Help Maintain Your Cedar Siding’s Natural Beauty Over Time
Cedar siding is an excellent choice for homeowners who value natural beauty and durability. However, like any material, cedar siding requires maintenance to maintain its original color and texture. While repairing this siding is an essential task, it is equally important to take additional steps to preserve its appearance over time. In this article, we’ll discuss some additional tips to help maintain your cedar siding’s natural beauty.
- Regular maintenance is critical to preserving the original color and texture of your cedar siding. Regular maintenance includes cleaning and inspecting for insect damage and moisture. You should also remove any debris, such as leaves or twigs that accumulate on the siding. Regular maintenance helps prevent future damage from moisture or insect infestation.
- A protective finish is a critical step in maintaining the natural beauty of cedar siding. A protective barrier, such as a sealant or stain, can prevent moisture damage, black staining, and insect damage. It will also help protect against harsh weather conditions or extreme temperature changes. Protective finishes come in a wide variety of types, including solid stains, semi-transparent, and transparent finishes.
- Solid stains are an excellent choice for homeowners who want minimal maintenance practices. This type of protective finish penetrates deeply into the wood surface to protect against black and moisture damage. Solid stains also offer UV protection and keep the natural character of the wood visible. They come in a wide variety of paint colors, so you can pick one that fits the existing color scheme of your home.
- Another essential factor in maintaining your cedar siding’s natural beauty is minimal maintenance. Ensure that you are using minimal maintenance techniques, such as pressure washing and applying solid stains, to keep the cedar siding’s original texture. When pressure washing, it’s crucial to use warm water and textured surfaces to remove dirt and other debris. Applying solid stains will also help retain the original color and texture of the wood while protecting it from moisture damage.
Conclusion
In conclusion, repairing cedar siding is a simple and effective way to restore your home’s natural beauty. Whether it’s dealing with water damage, insect infestation, weathered wood, or other types of damage, there are various methods to repair and maintain cedar siding. With proper maintenance, regular checks, and suitable protective finishes, cedar siding can withstand the test of time and look great for years to come. So don’t hesitate to invest in your home’s exterior by repairing and restoring its cedar siding today.